 Moe viewing sun in Ha for first time May 20, 2012 Annular Eclipse |
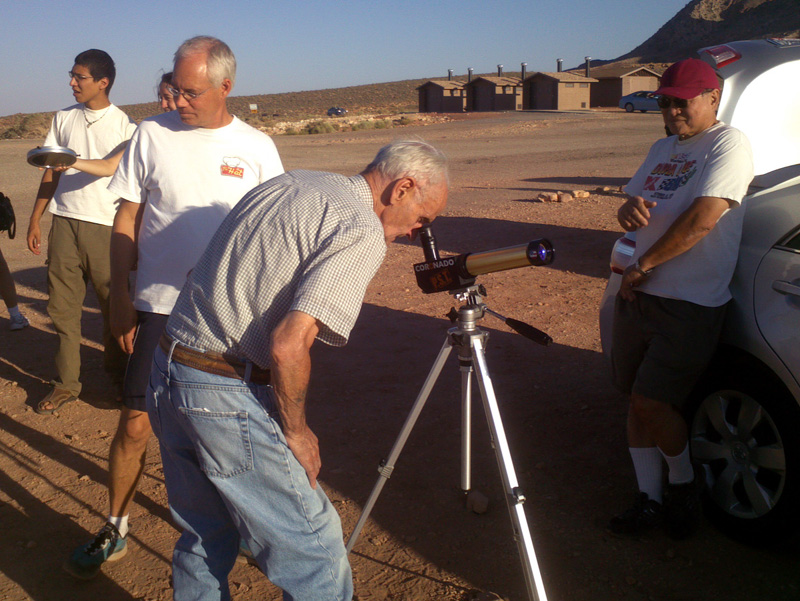 PePere viewing sun in Ha |
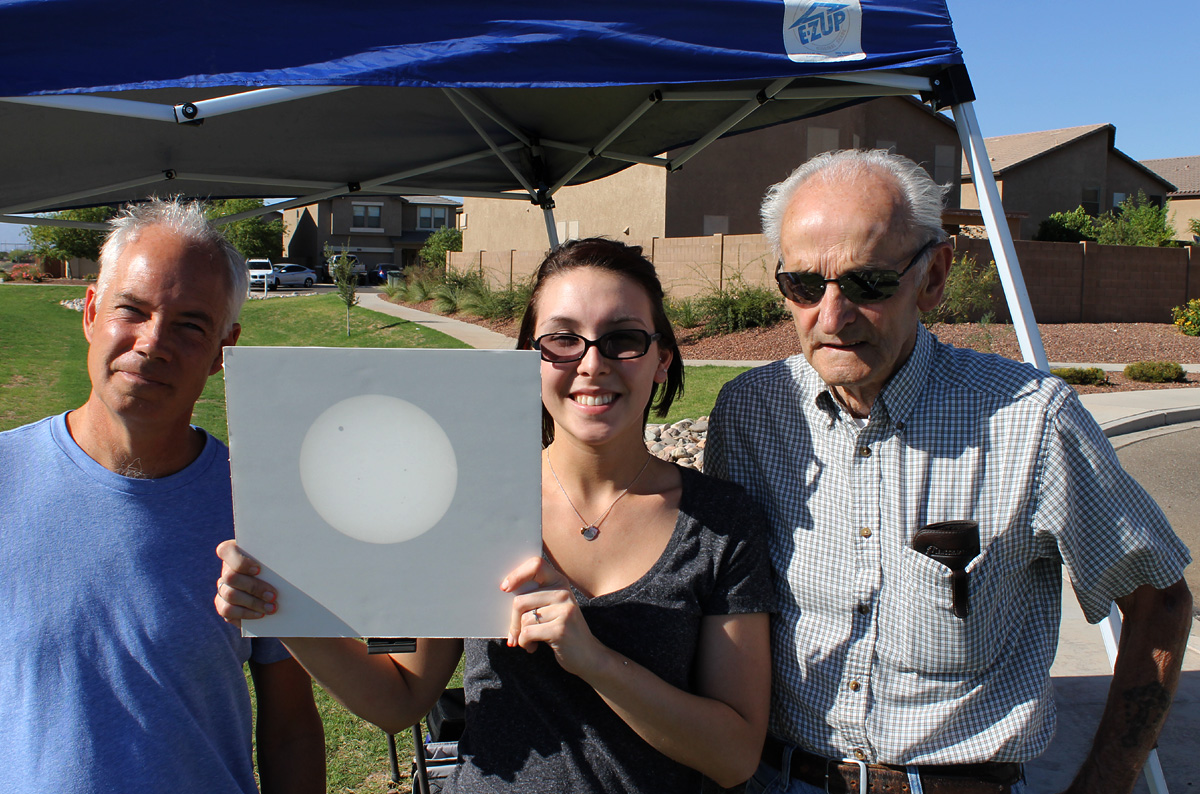 Martin, Carissa and my Dad |
Carissa checking it out |
 Moe and the transit |
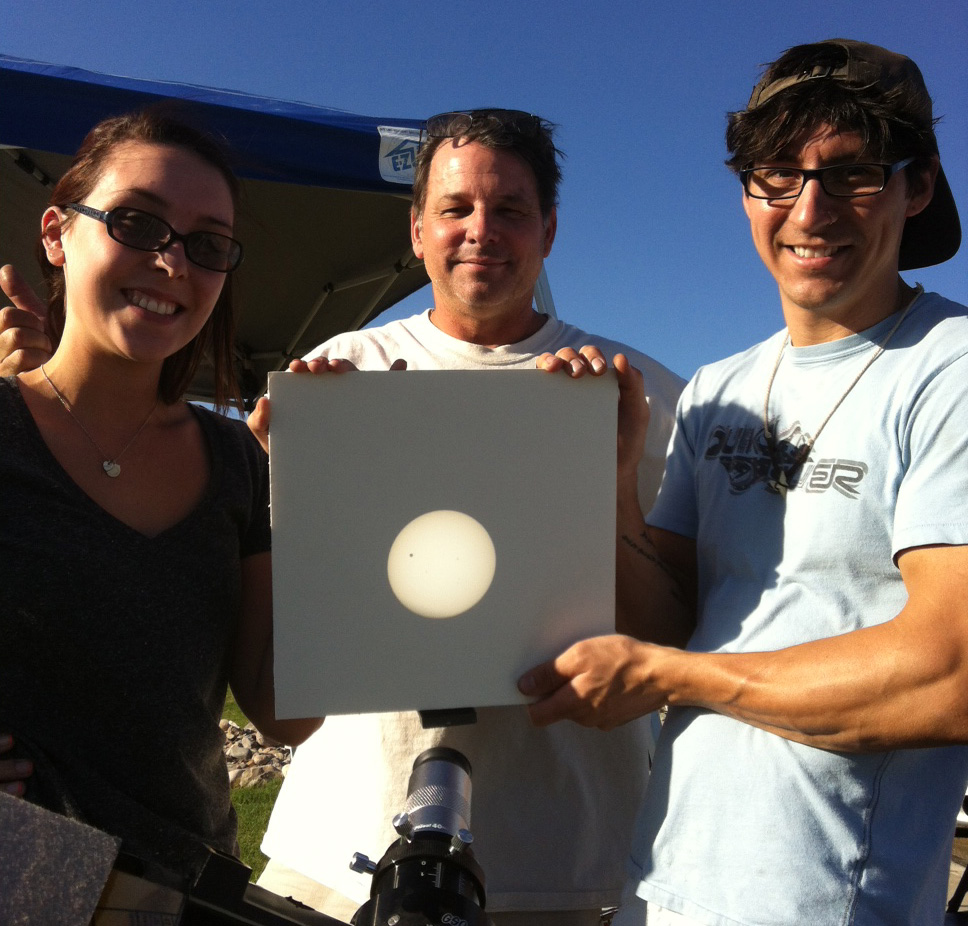 Carissa, Moe, Brandon checking it out |
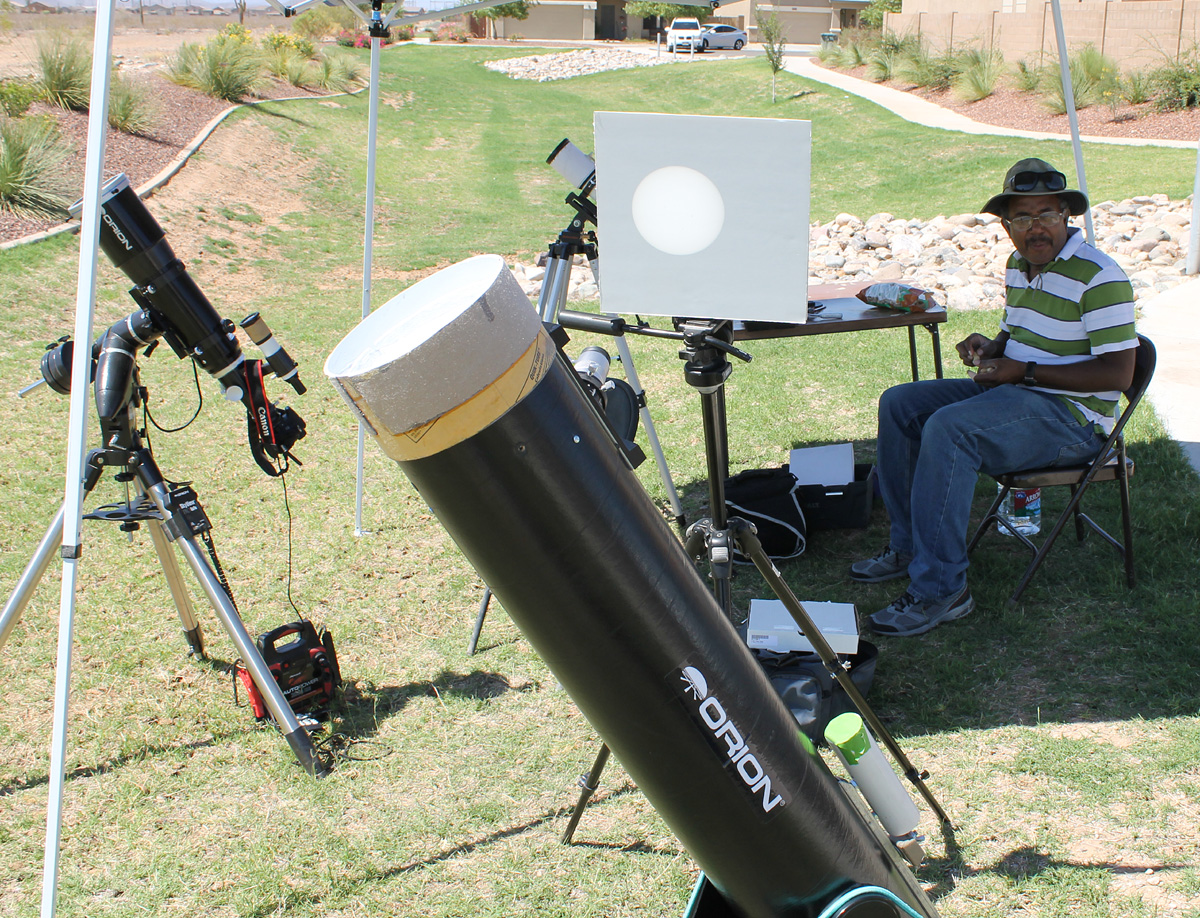 Jonathan taking a break early on |
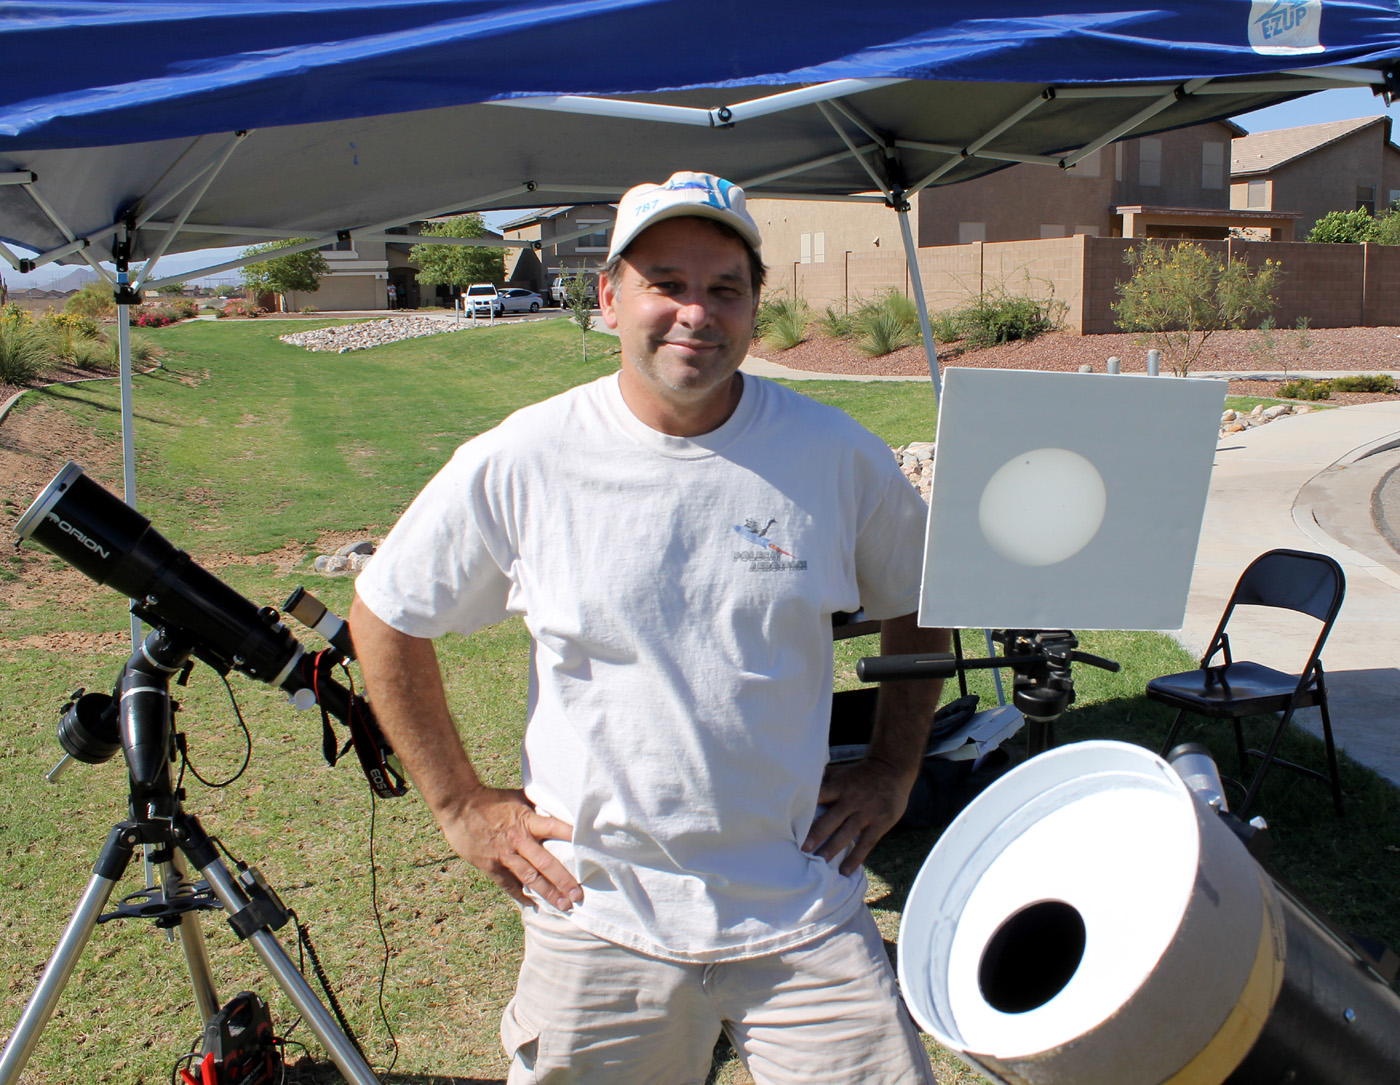
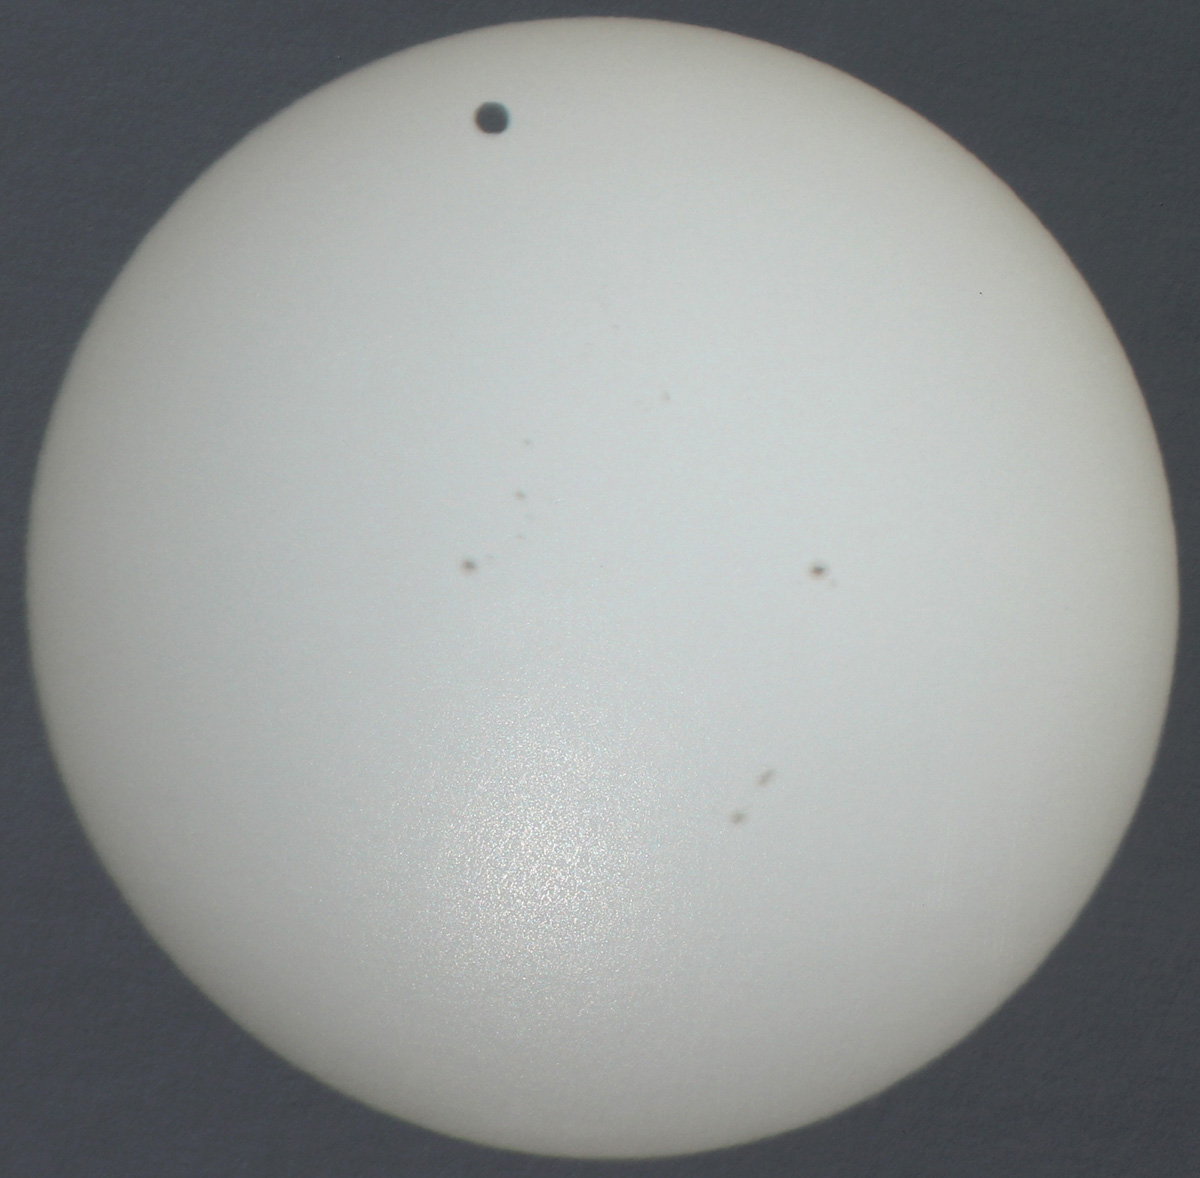 Eyepeice Projection |
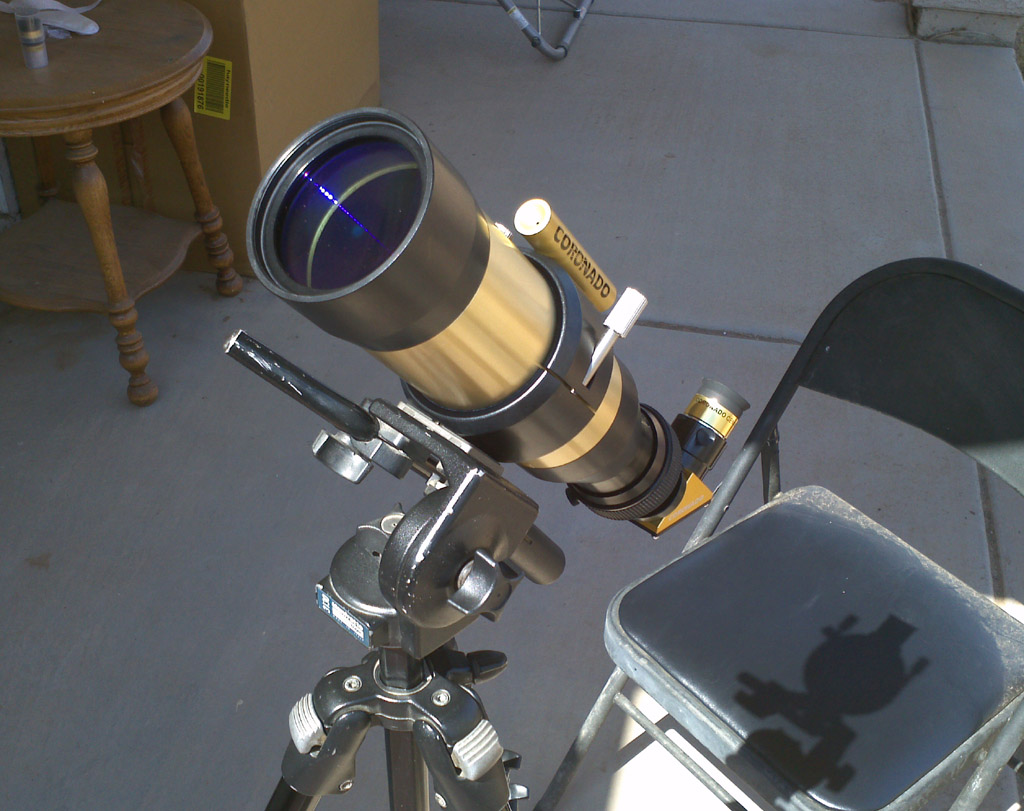
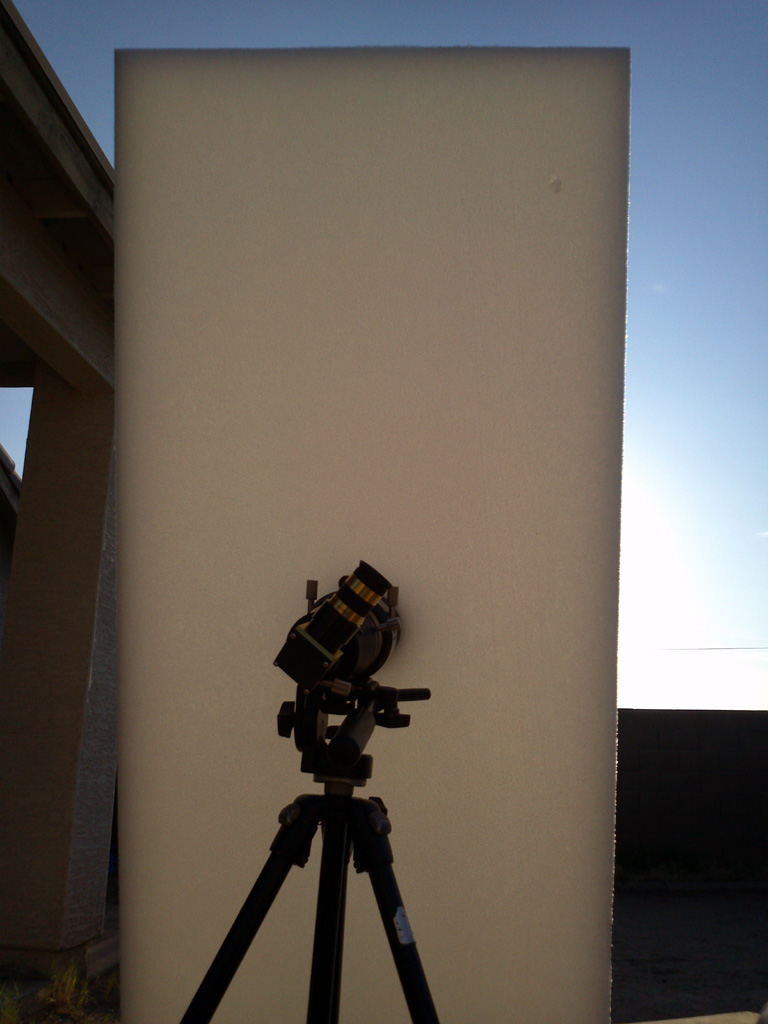
 First light with the Coronado P.S.T. Aug 29, 2012 |
 2nd A-focal Cellphone photo Some small proms visible |
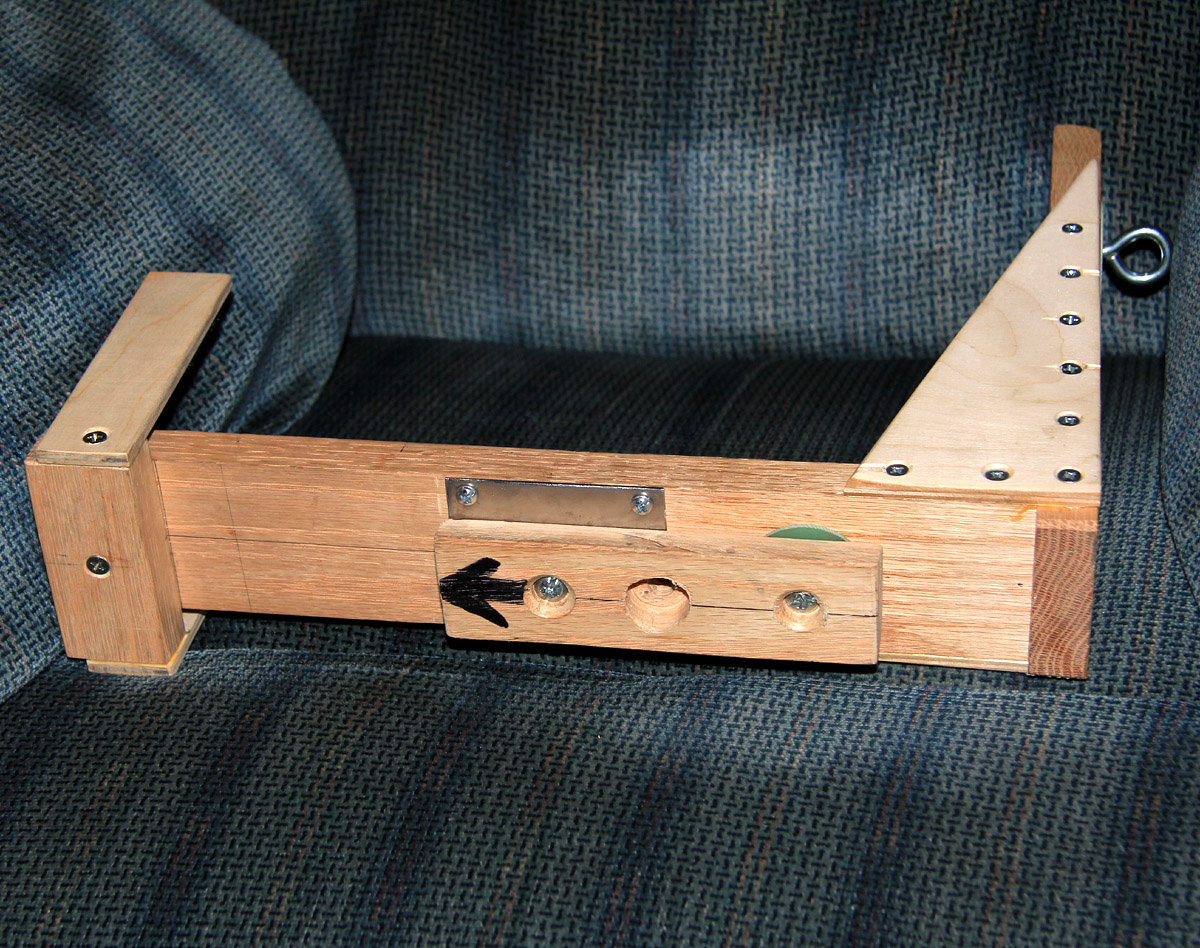
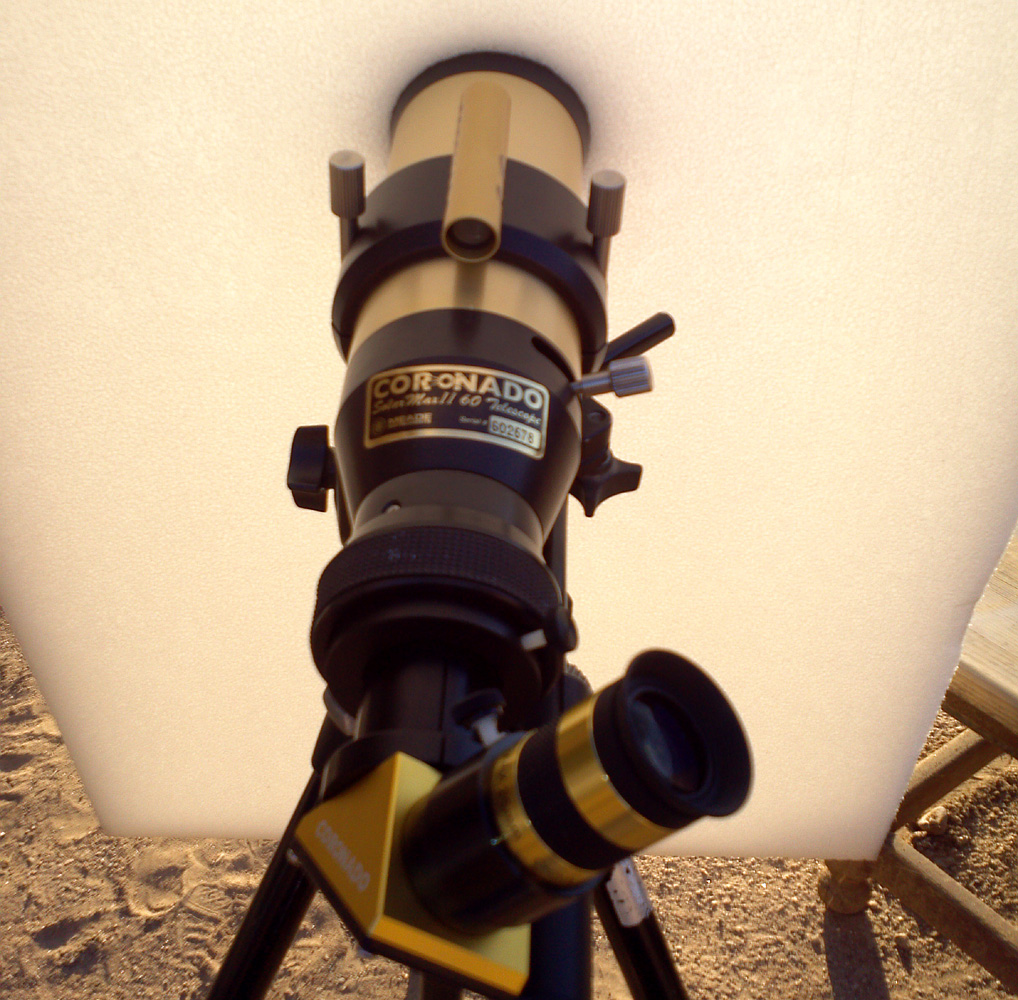
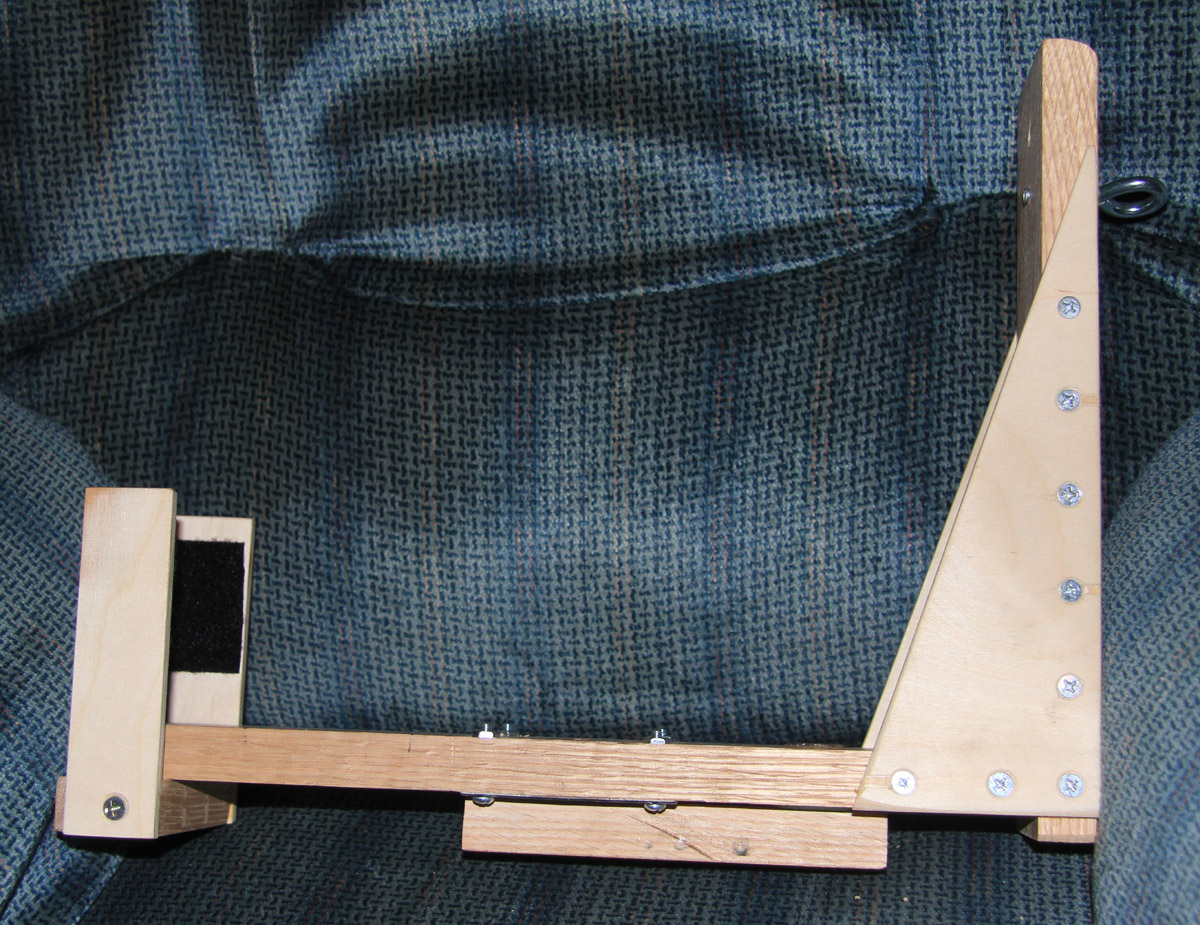 Side View |
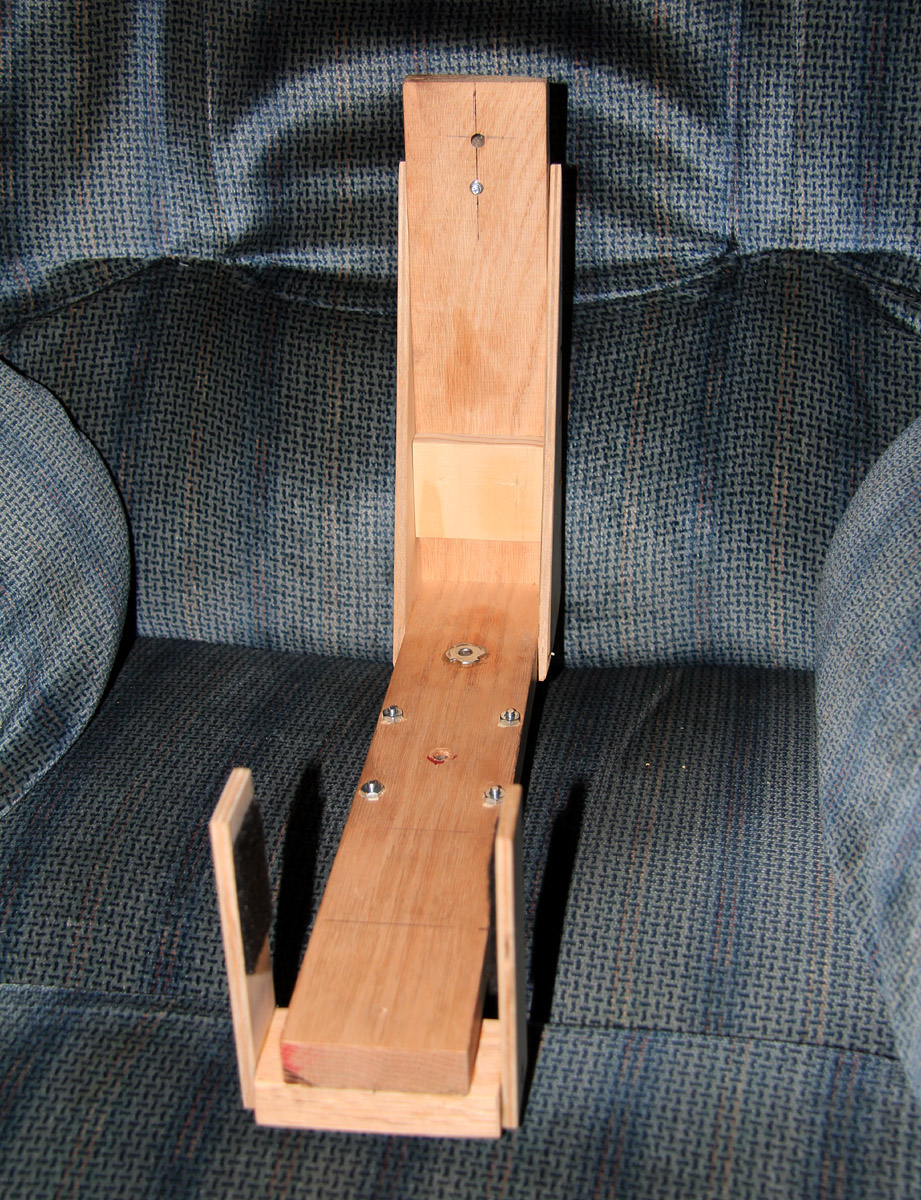 Front View |
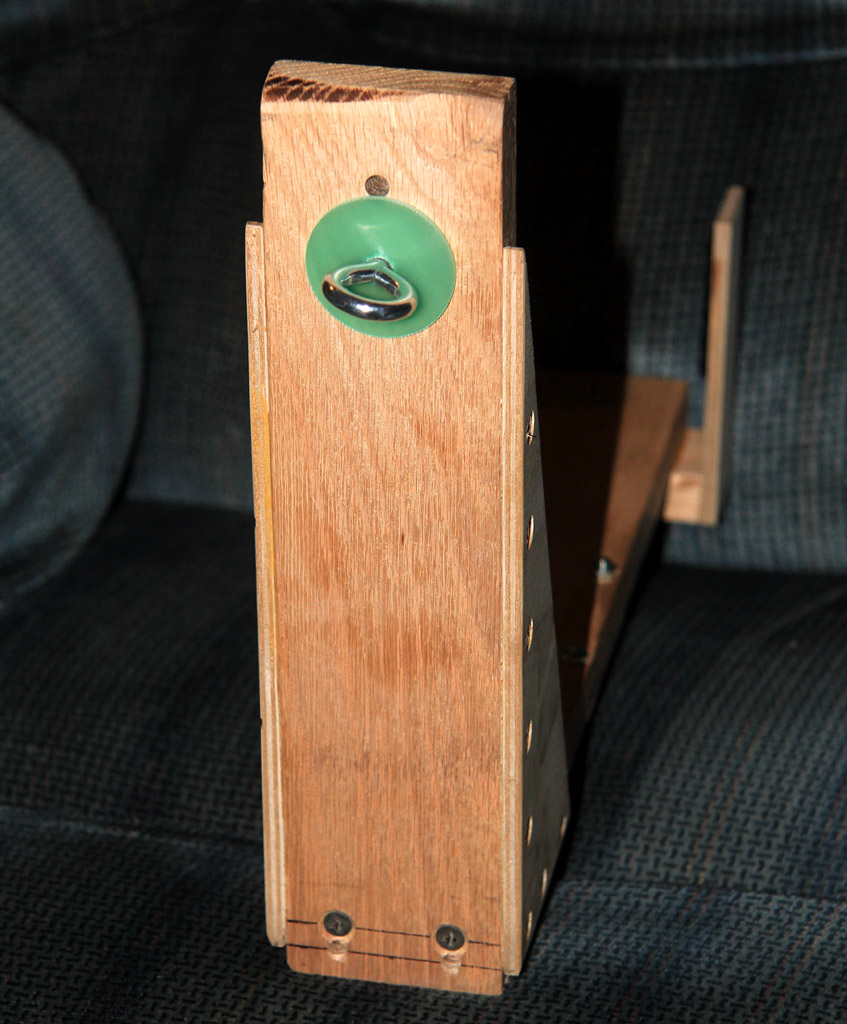 Rear View |
 Bottom View w/ dovetail installed |
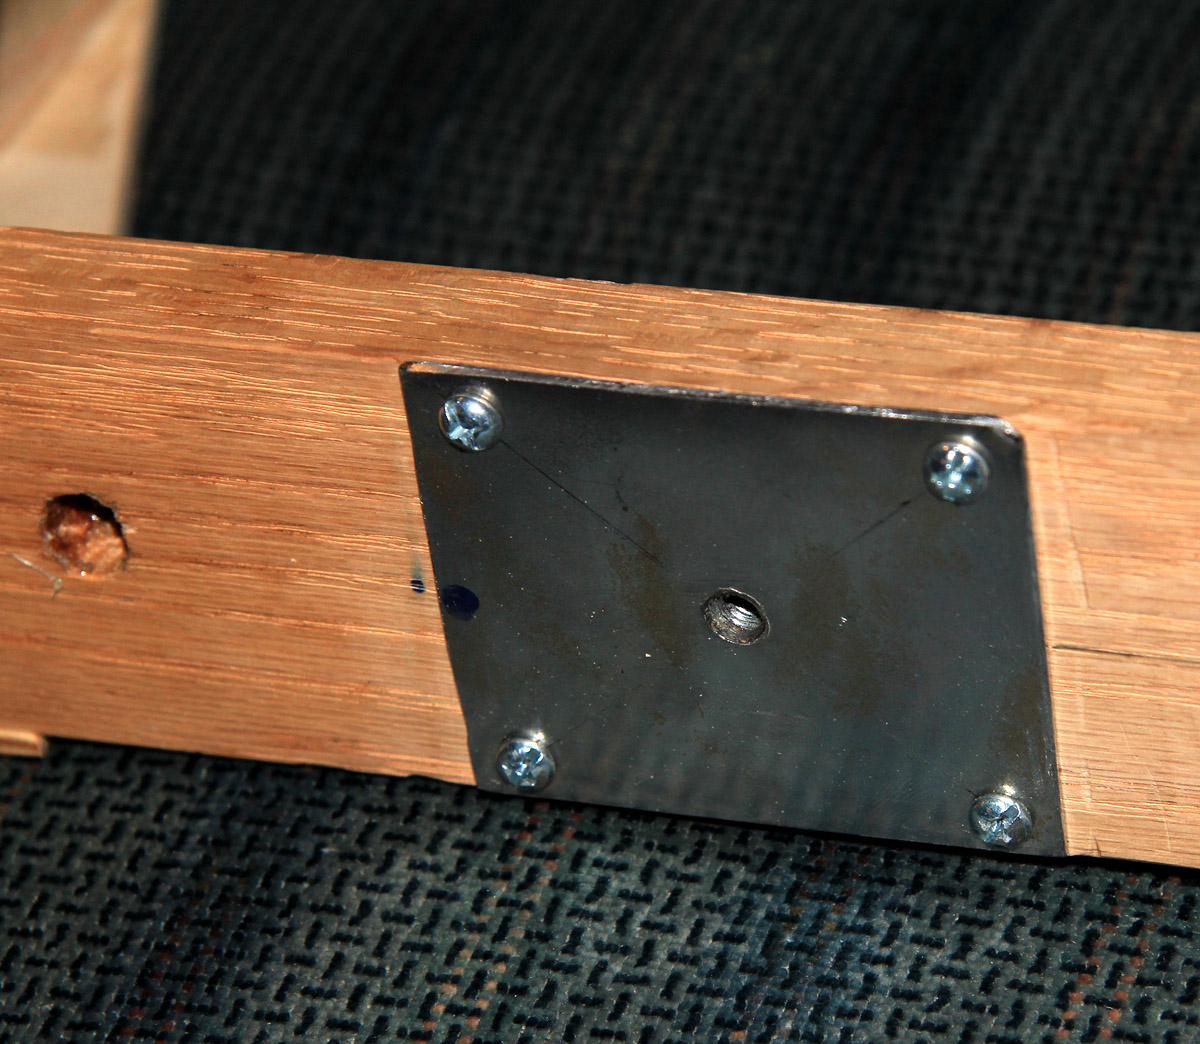 Bottom View w/o tripod adapter installed |
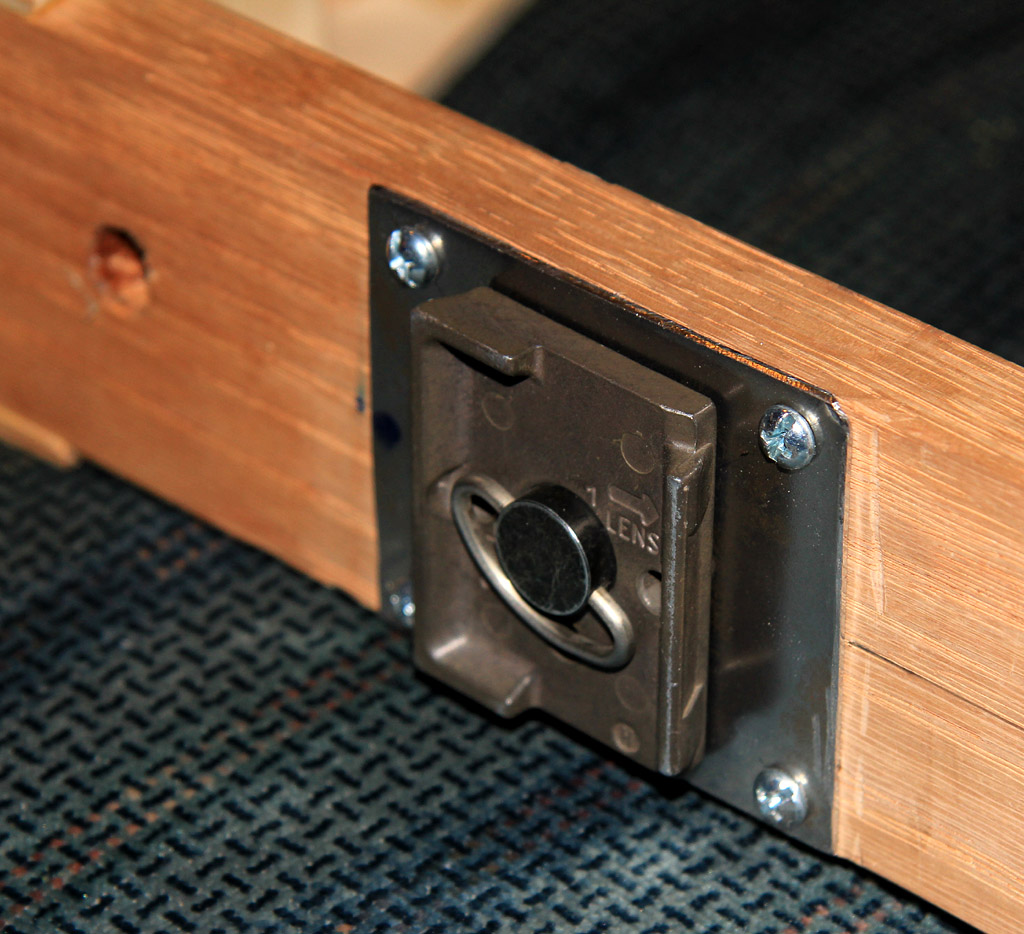 Bottom View w/ tripod adapter installed |
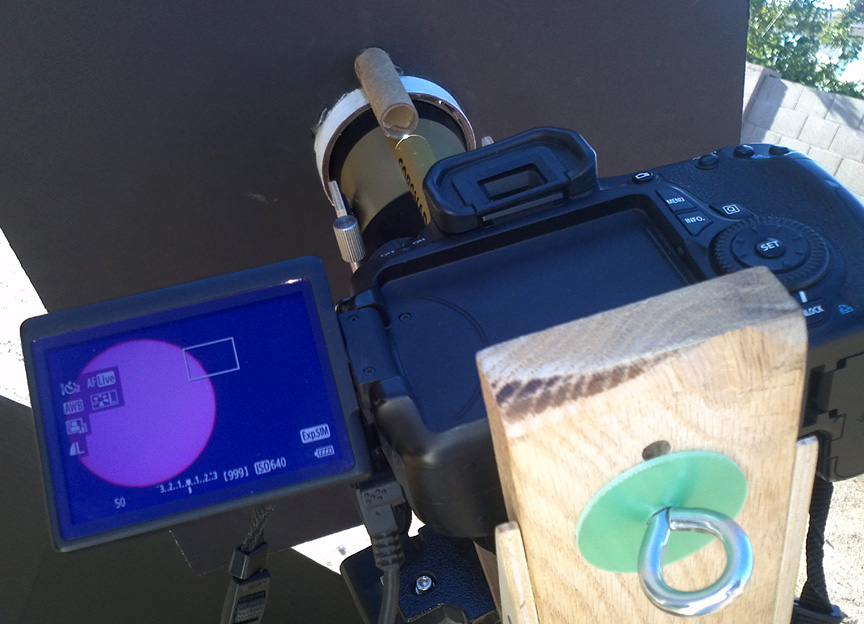
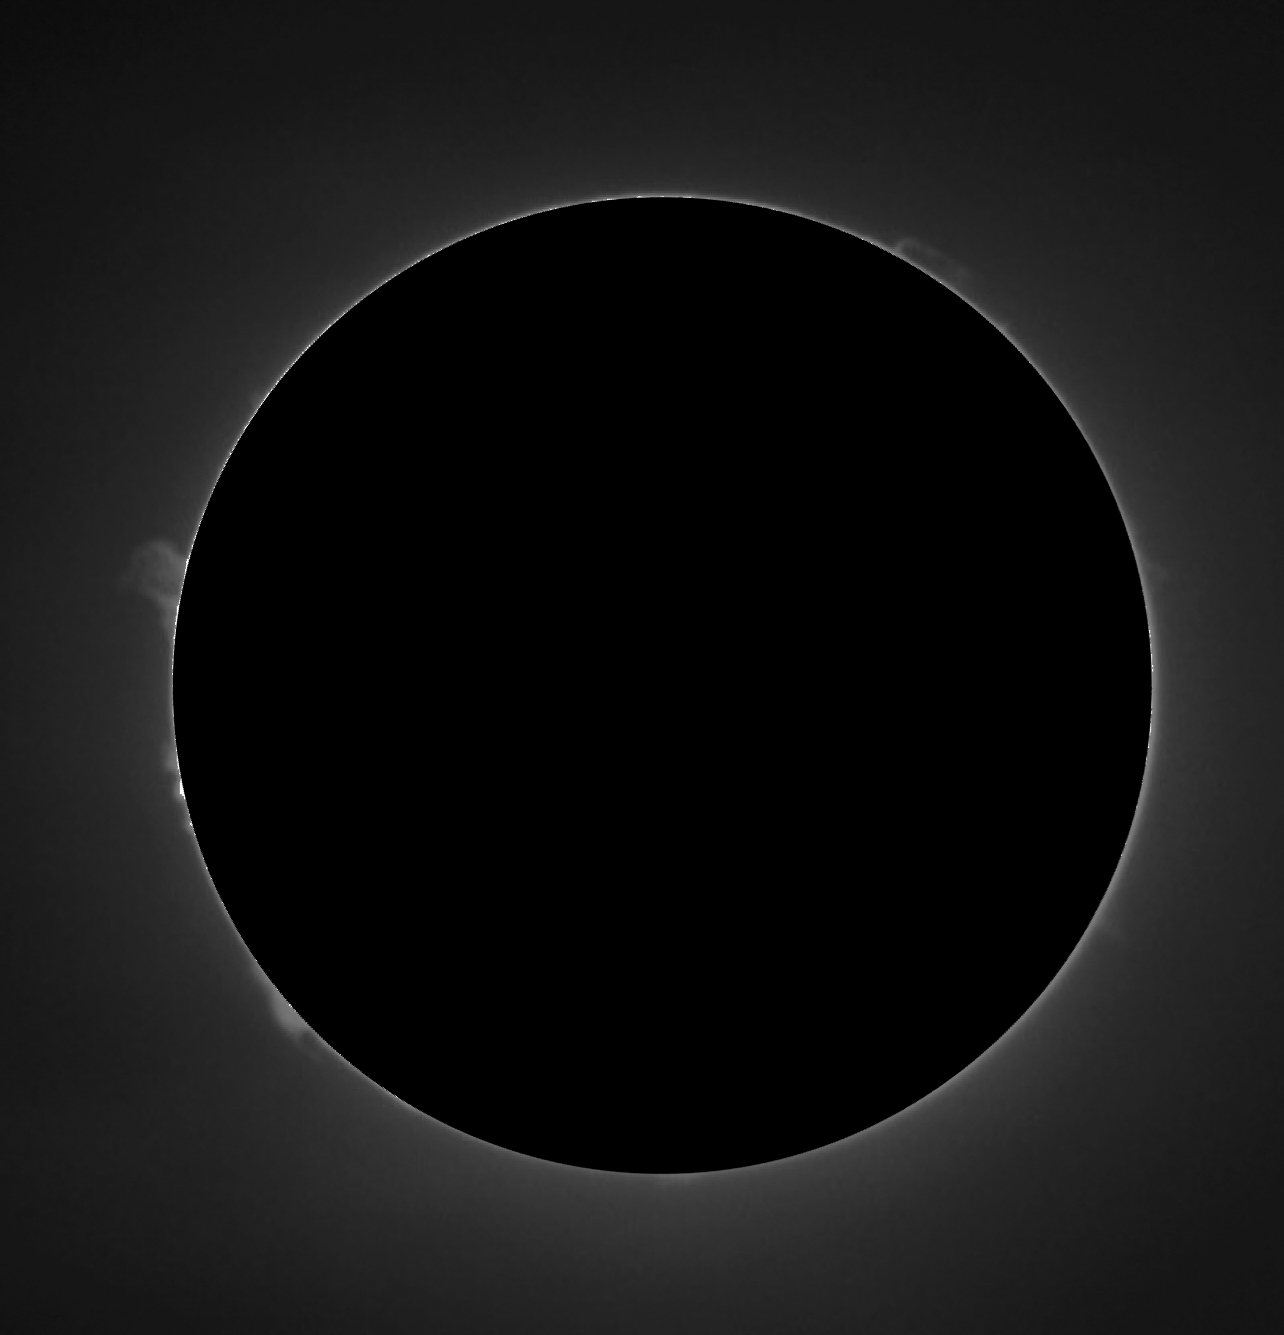 Eyepiece Projection photo with smartphone |
 TEXT HERE |
 First light with the Coronado SolarMax II 60mm Aug 30, 2012 |
 Temporary sun blocker Aug 30, 2012 |
 Temporary sun blocker Aug 30, 2012 |
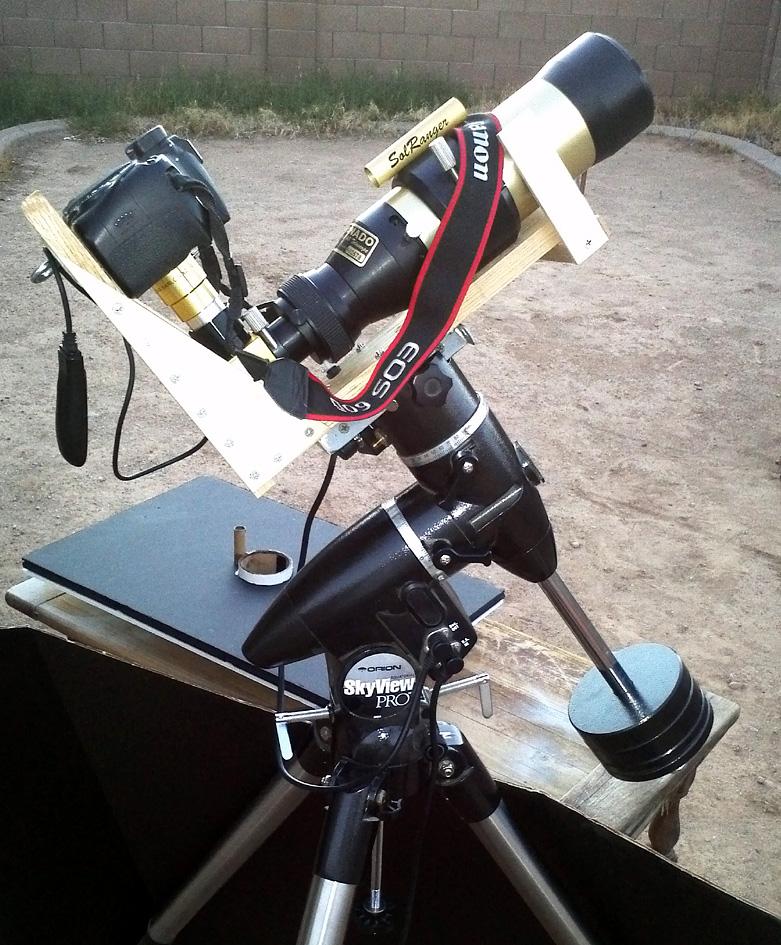
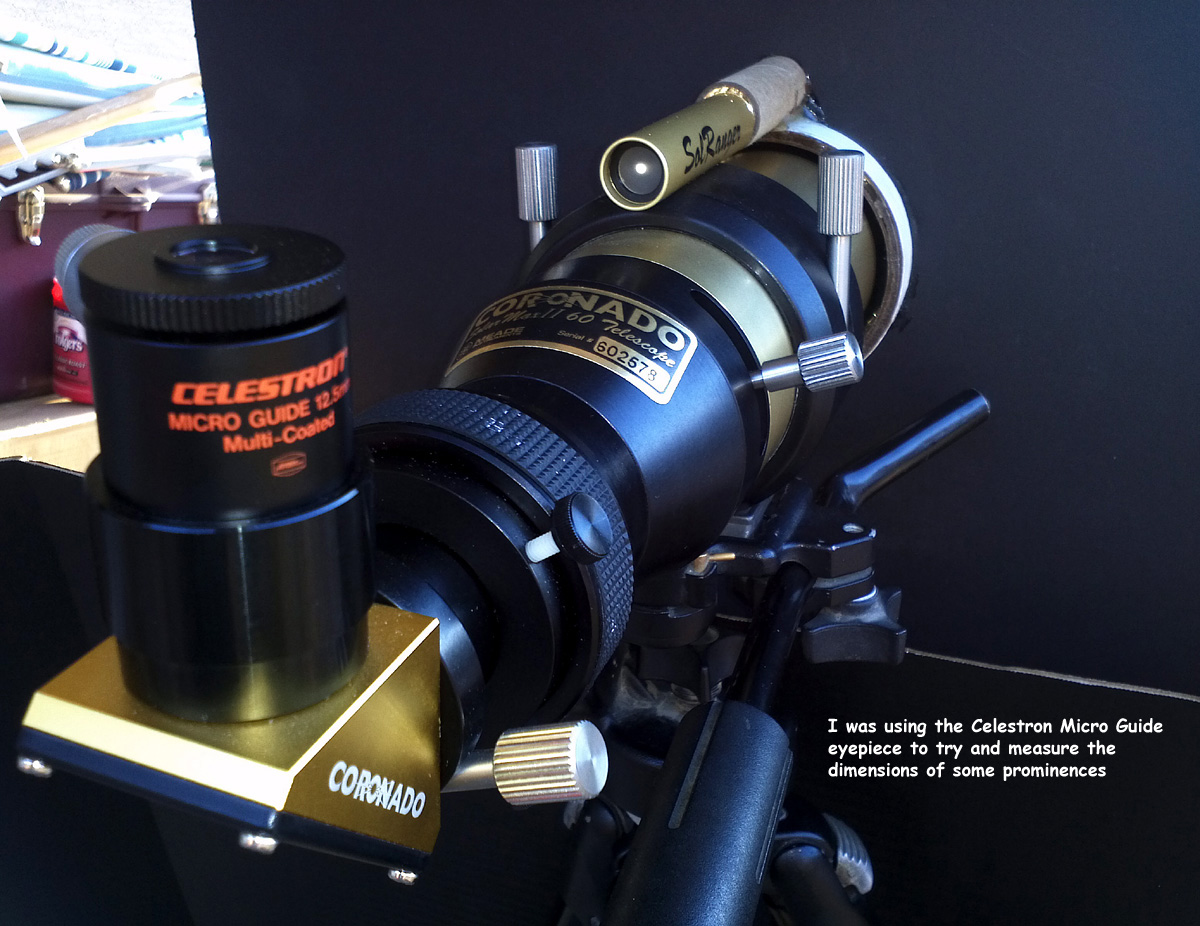
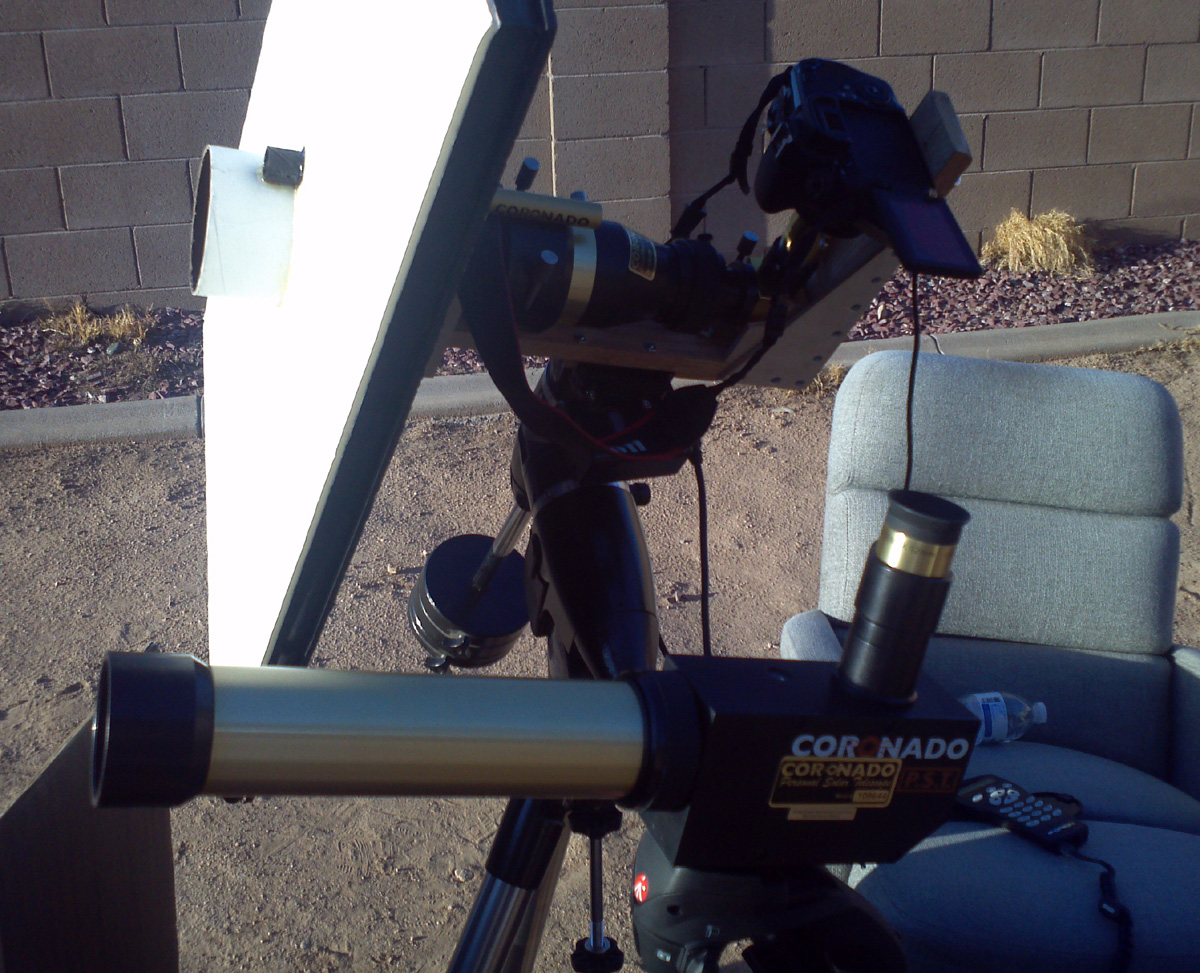
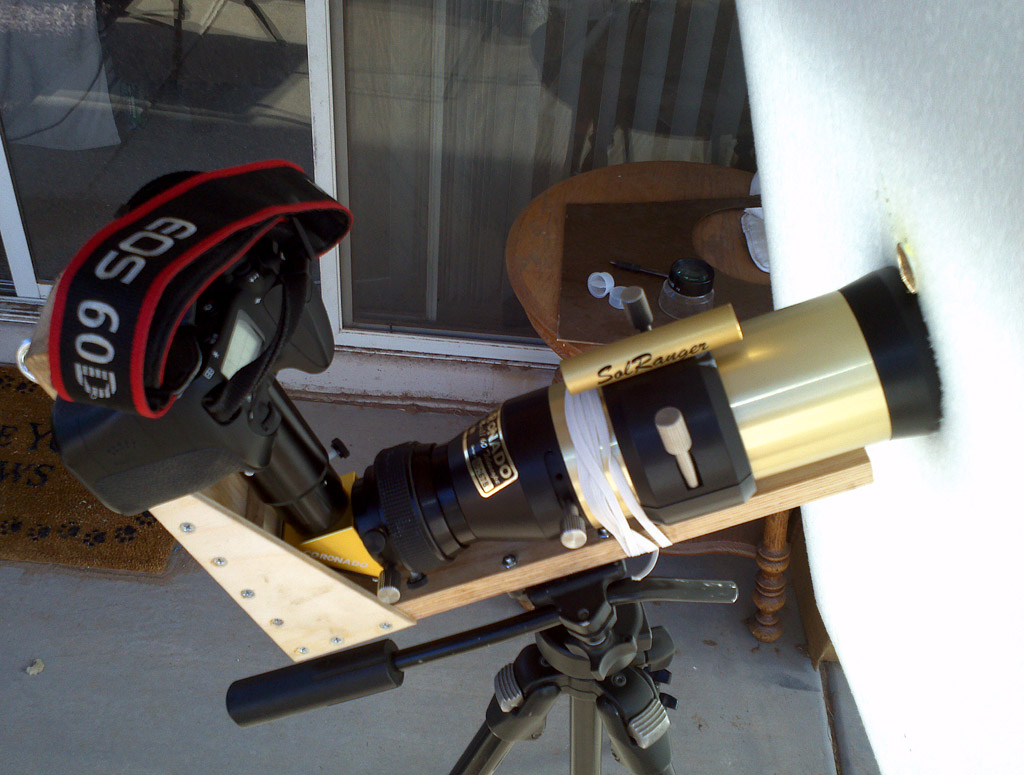 Initial Eyepiece Projection DSLR Imaging Setup Sep 1, 2012 (Note tube for SolRanger alignment) |
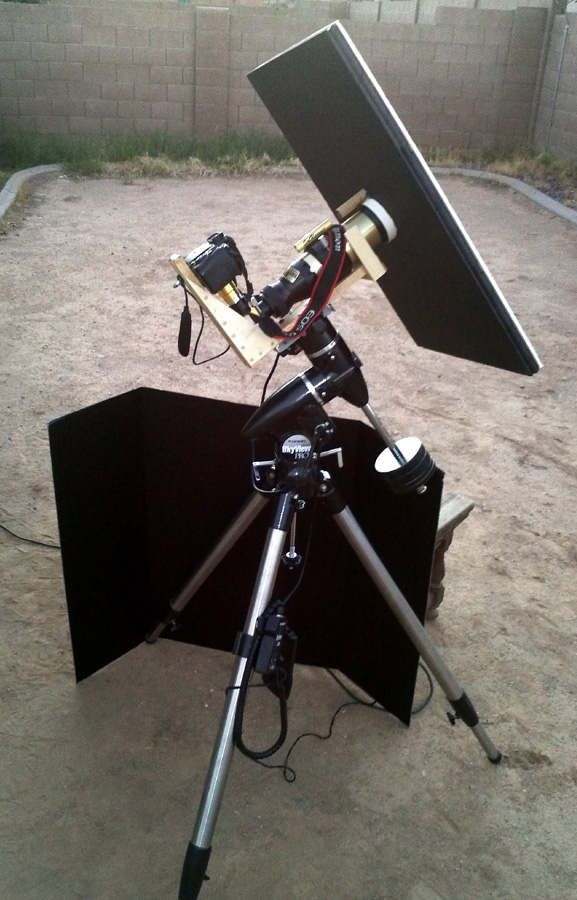 DSLR Imaging Setup Evolution Sep 18, 2012 |
 Full-Disc Cemax Barlow Imaging Sep 18, 2012 |
TEXT HERE |
TEXT HERE |
TEXT HERE |
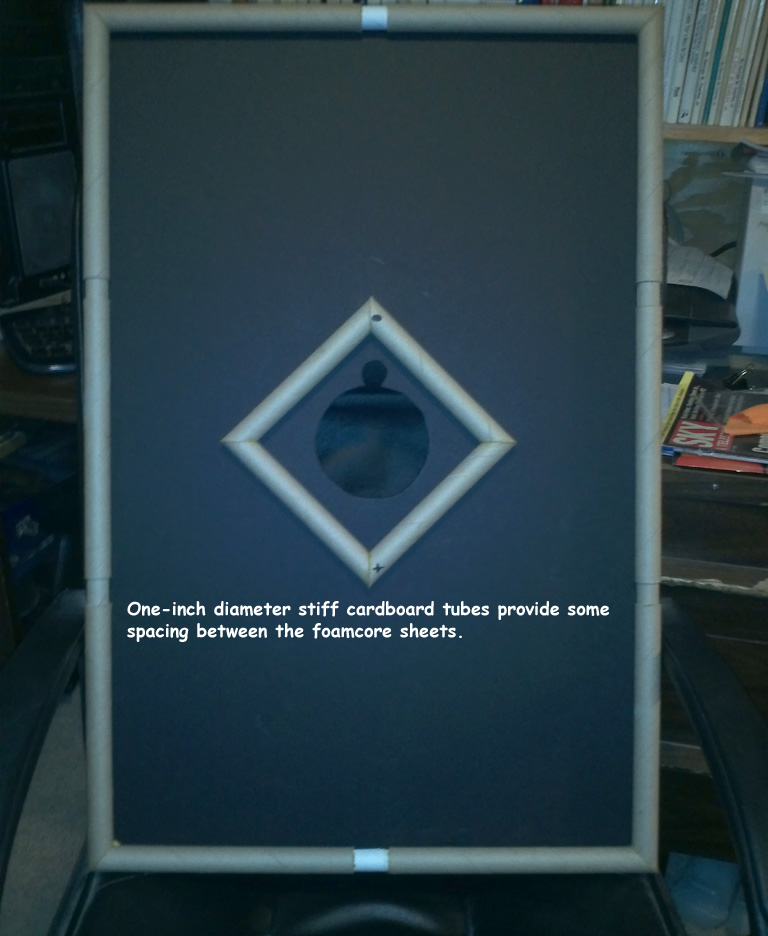 Inside of foamcore Sun Blocker 3 Sep 2012 |
 Sun Blocker installed on scope 3 Sep 2012 |
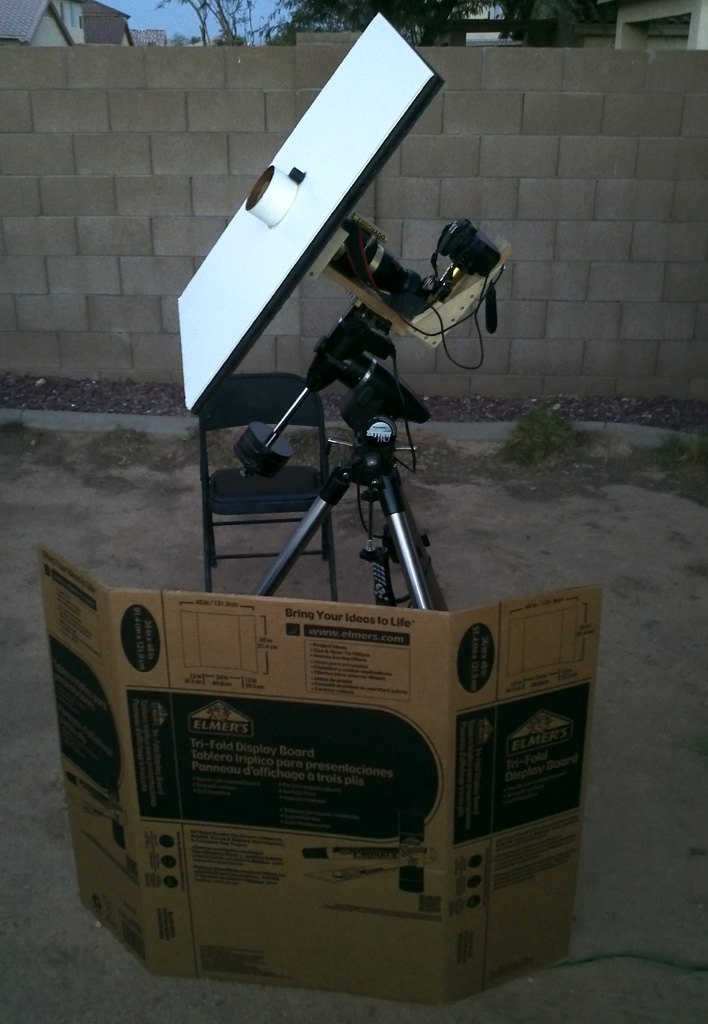 Tri-Fold Low Sun Blocker 18 Sep 2012 |
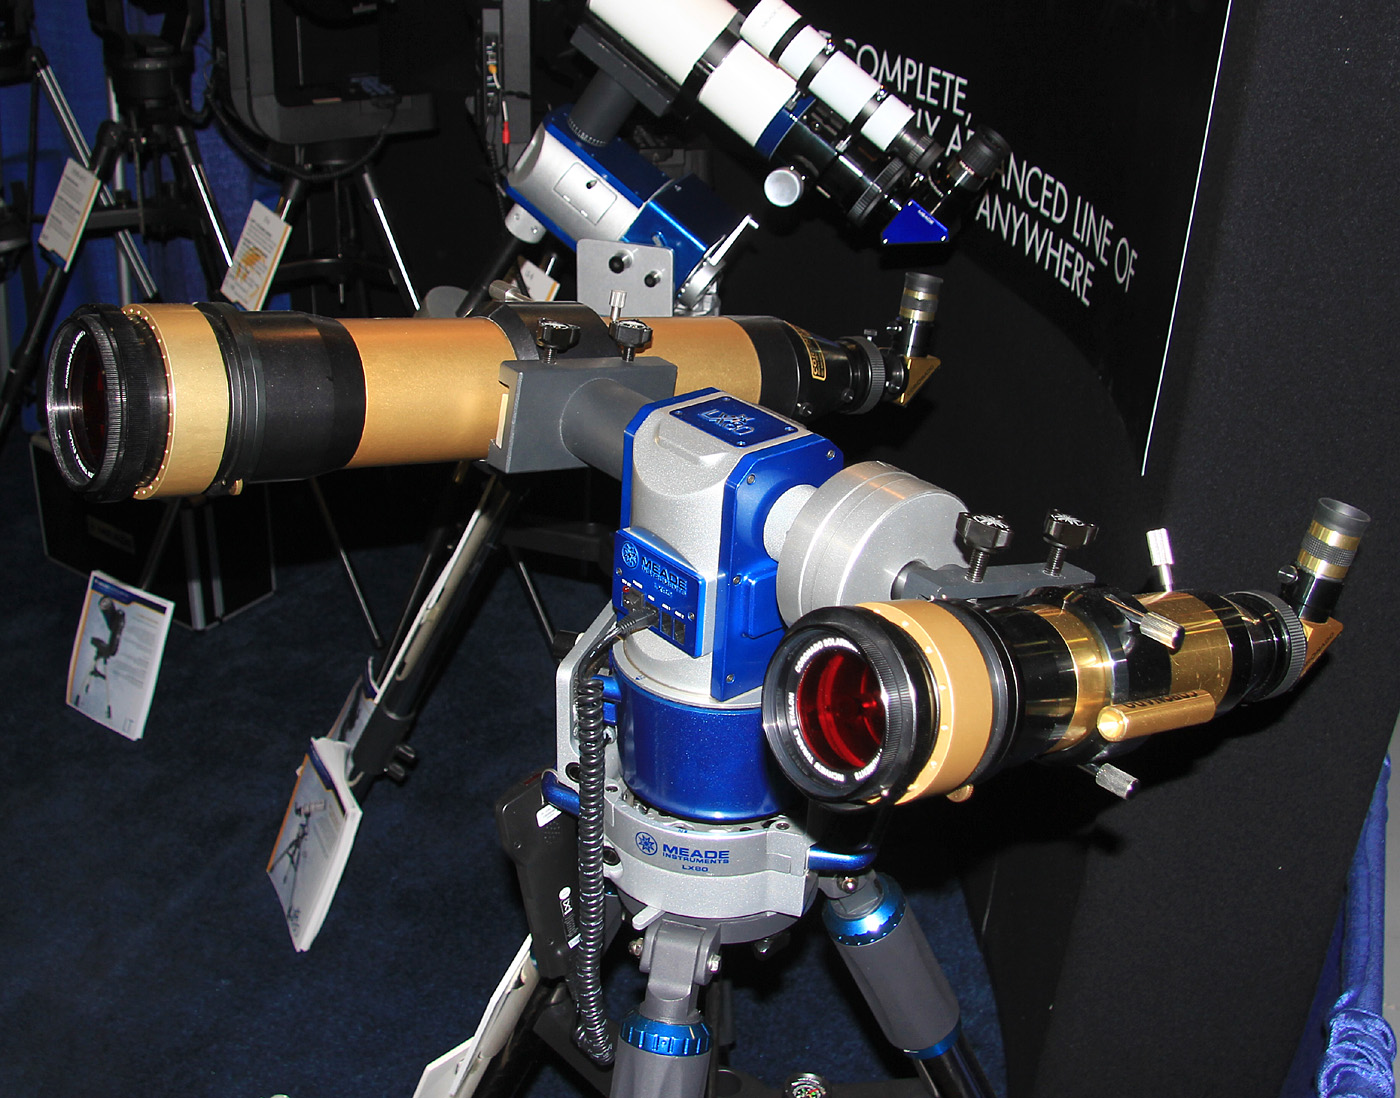
 PST and SolarMax II 60mm set up 20 Sep 2012 |
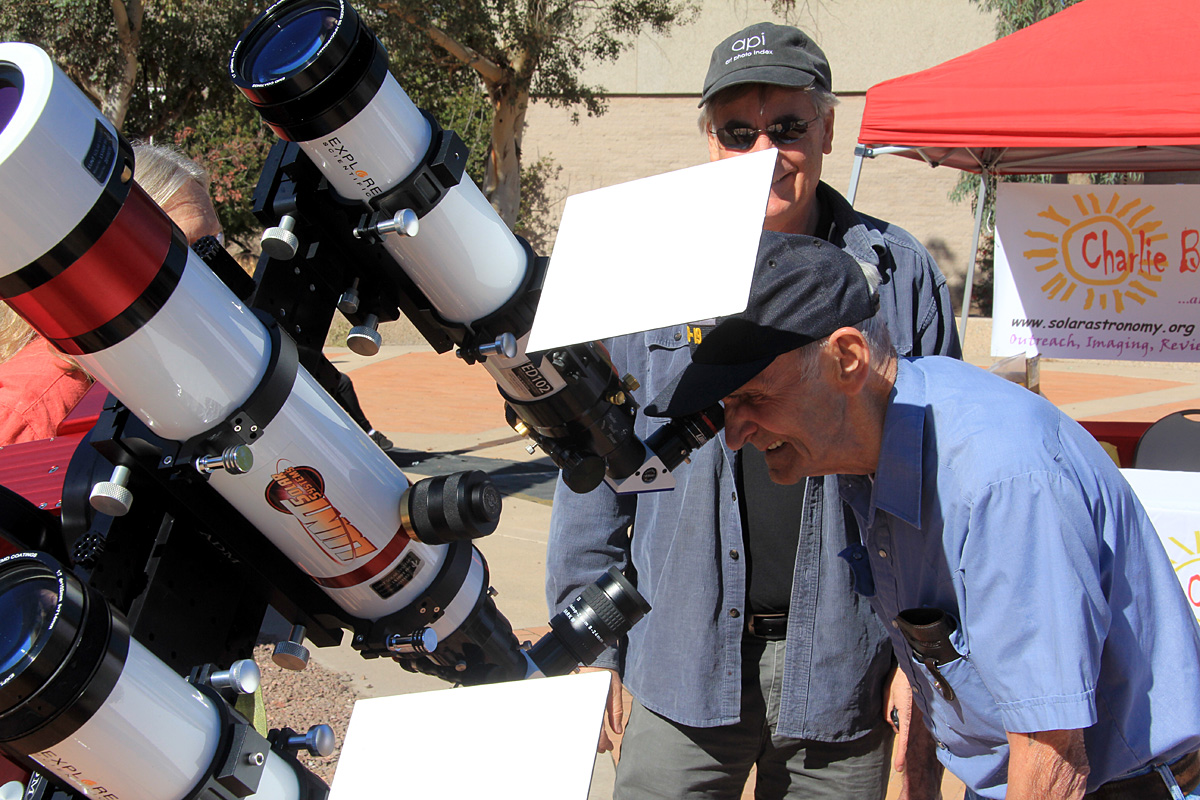
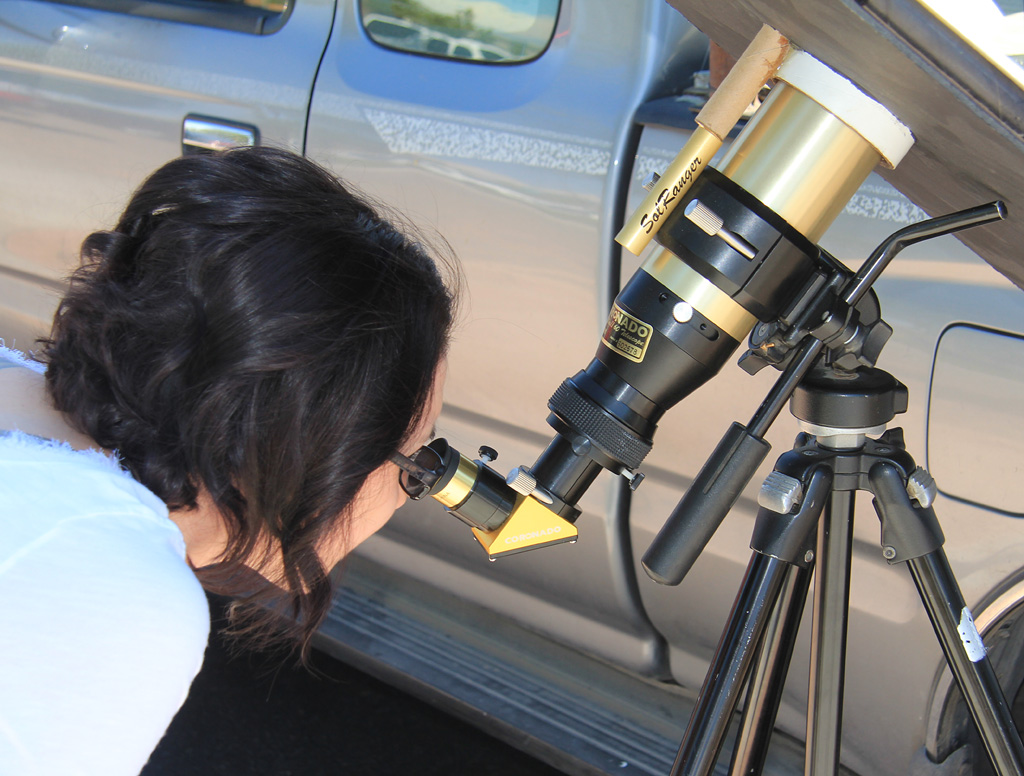 Carissa viewing the sun in HA 29 Sep 2012 |
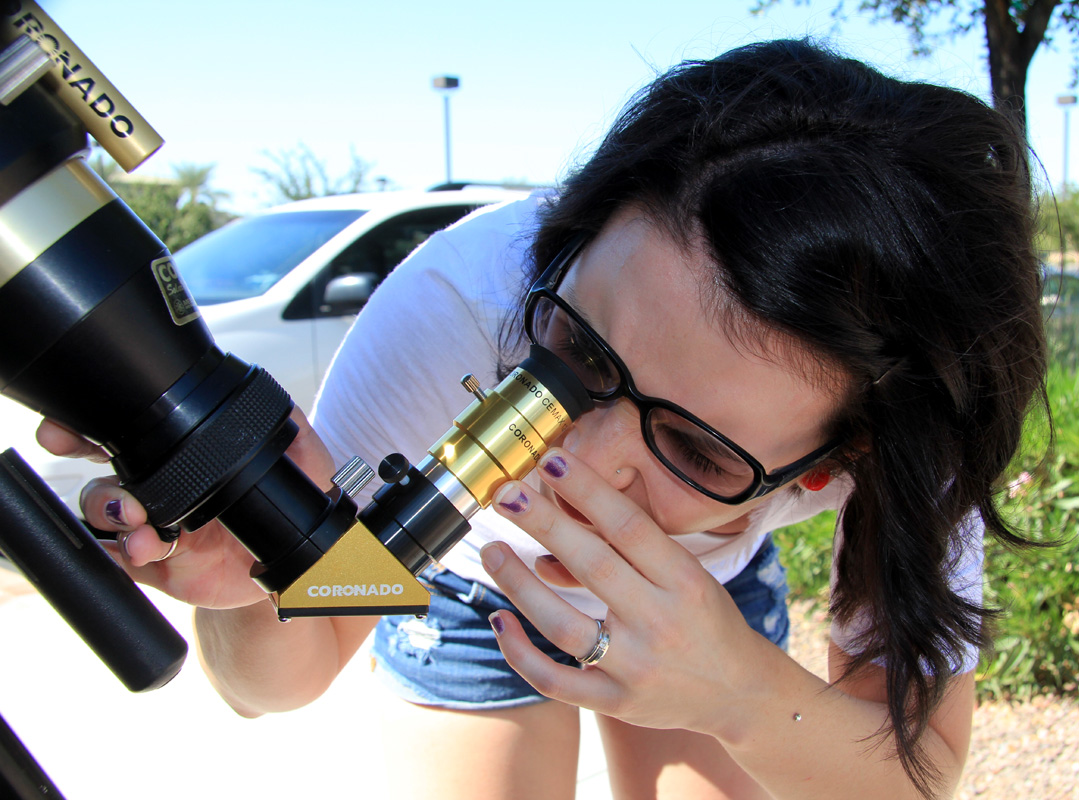 Carissa viewing the sun in HA 29 Sep 2012 |
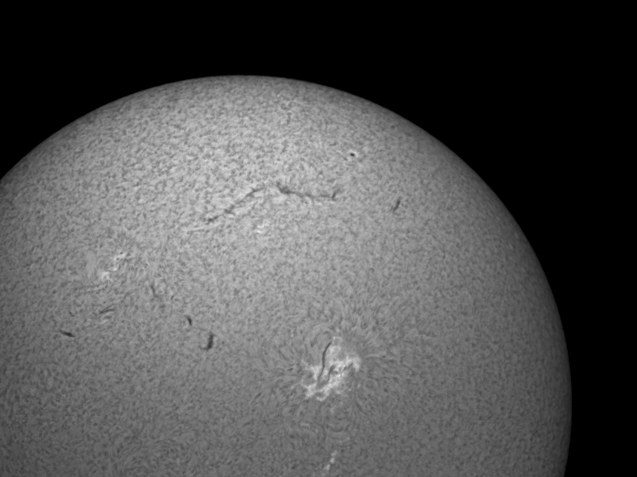
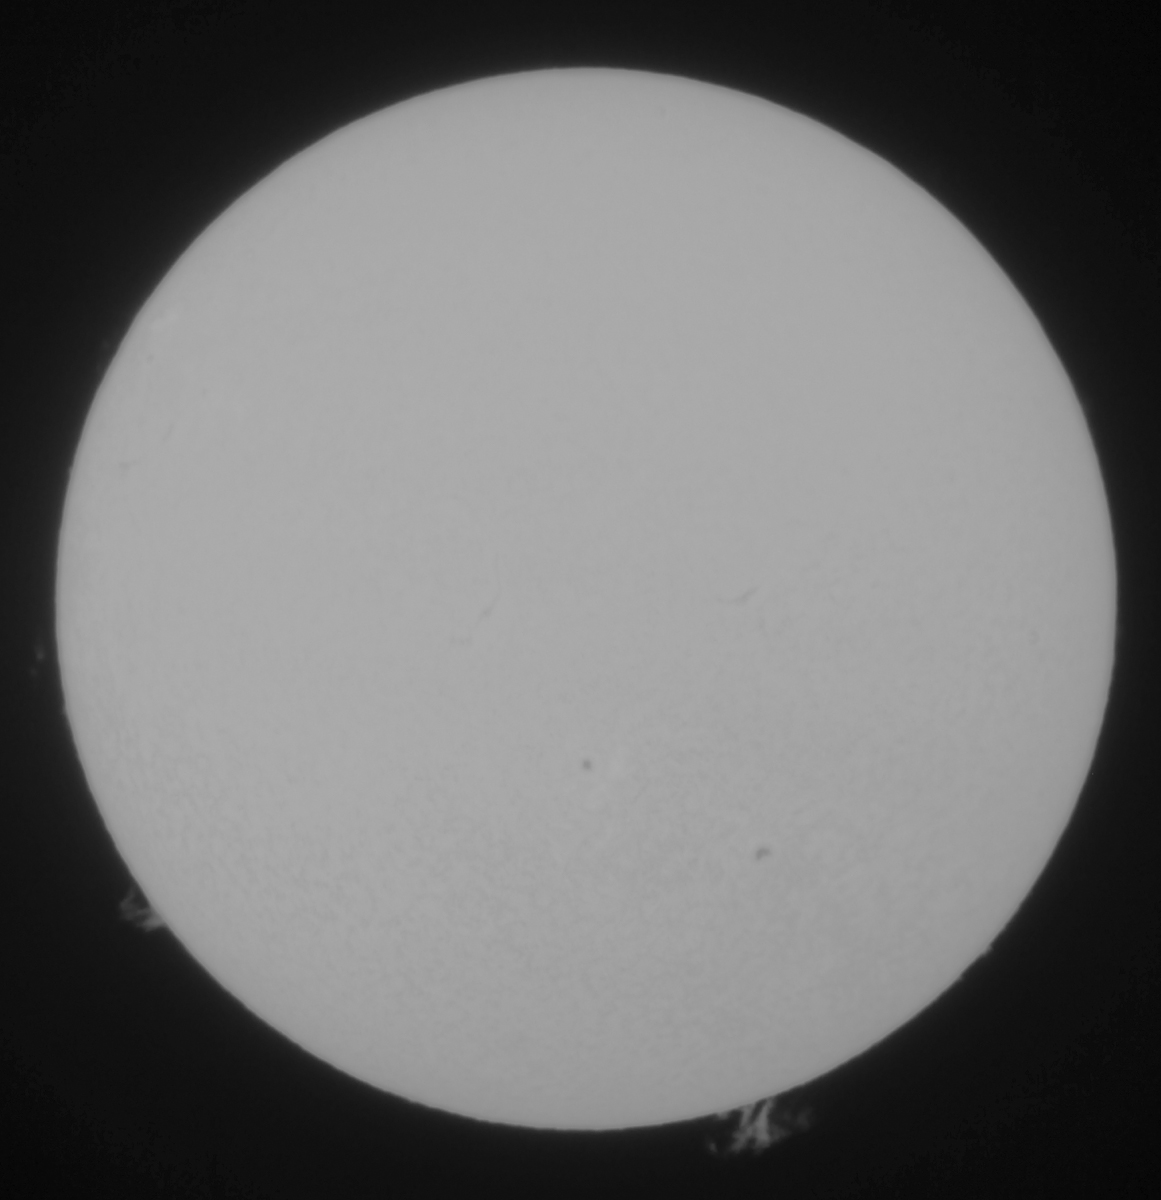 Greyscale view of what we saw an hour or so earlier 29 Sep 2012 |
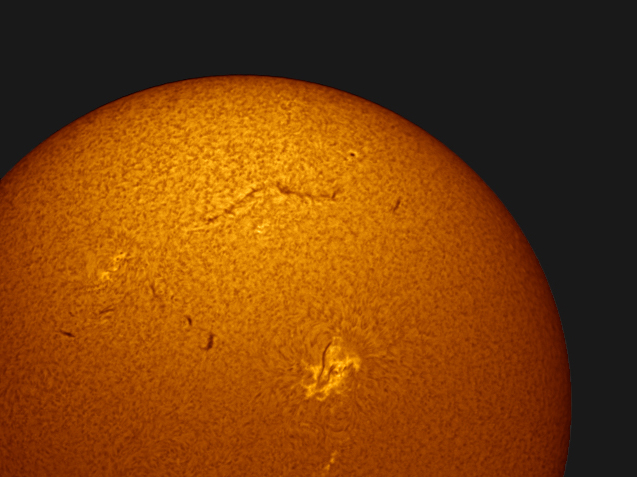
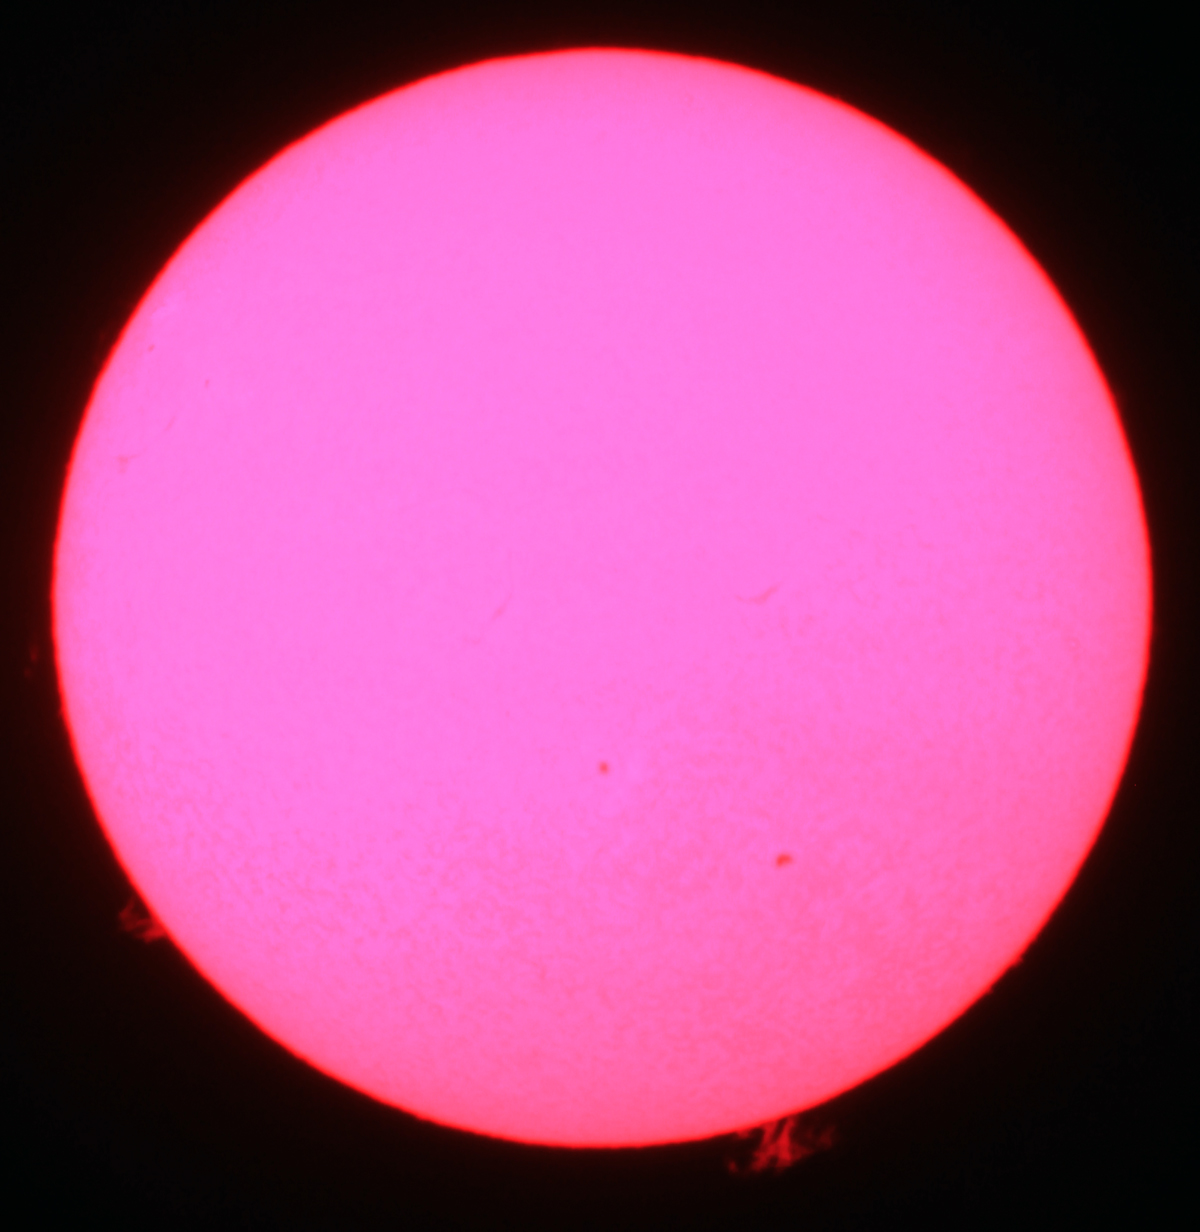 Unaltered view of what we saw an hour or so earlier 29 Sep 2012 |
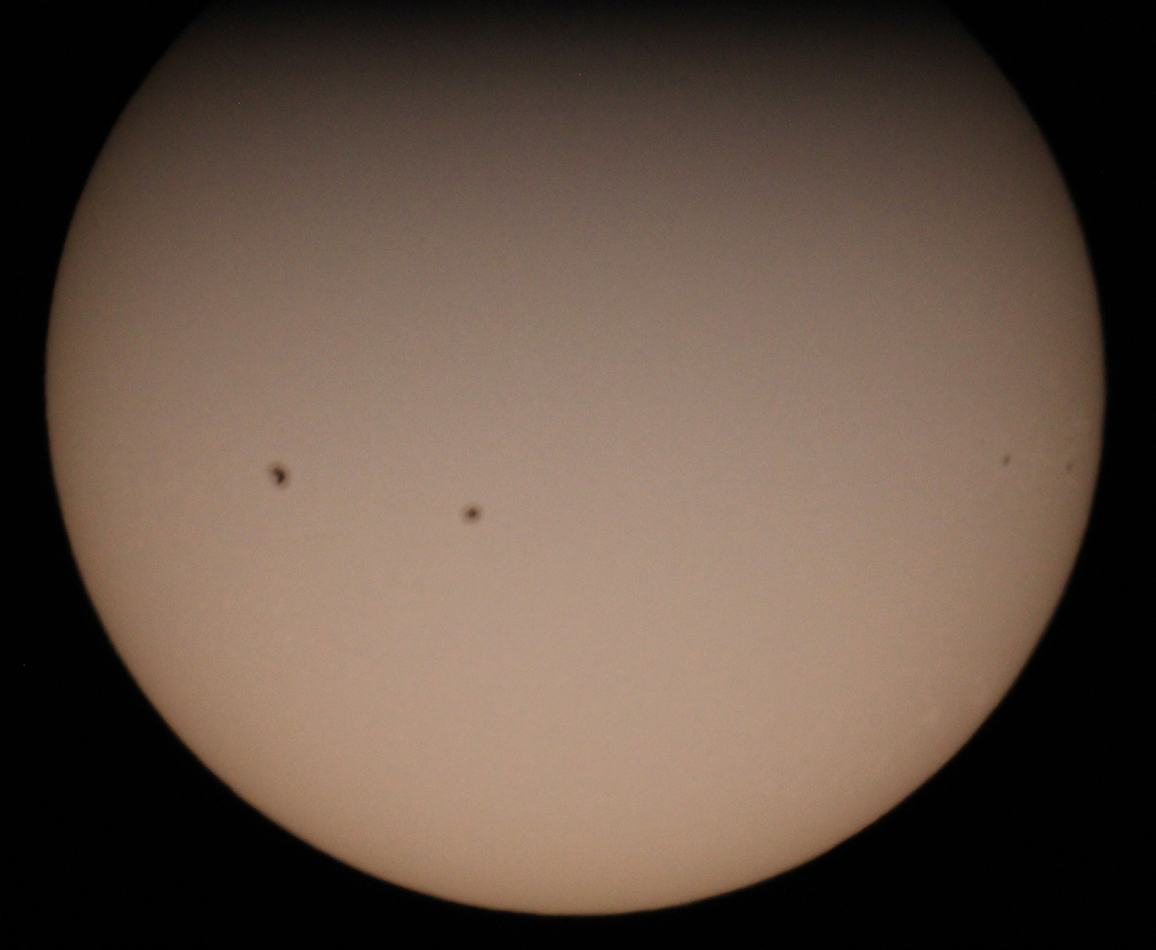 White light view of what we saw an hour or so earlier 29 Sep 2012 |
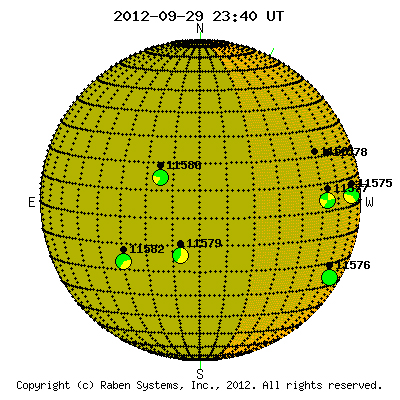 Map or Solar Active Regions 29 Sep 2012 (Raben Systems.com) |
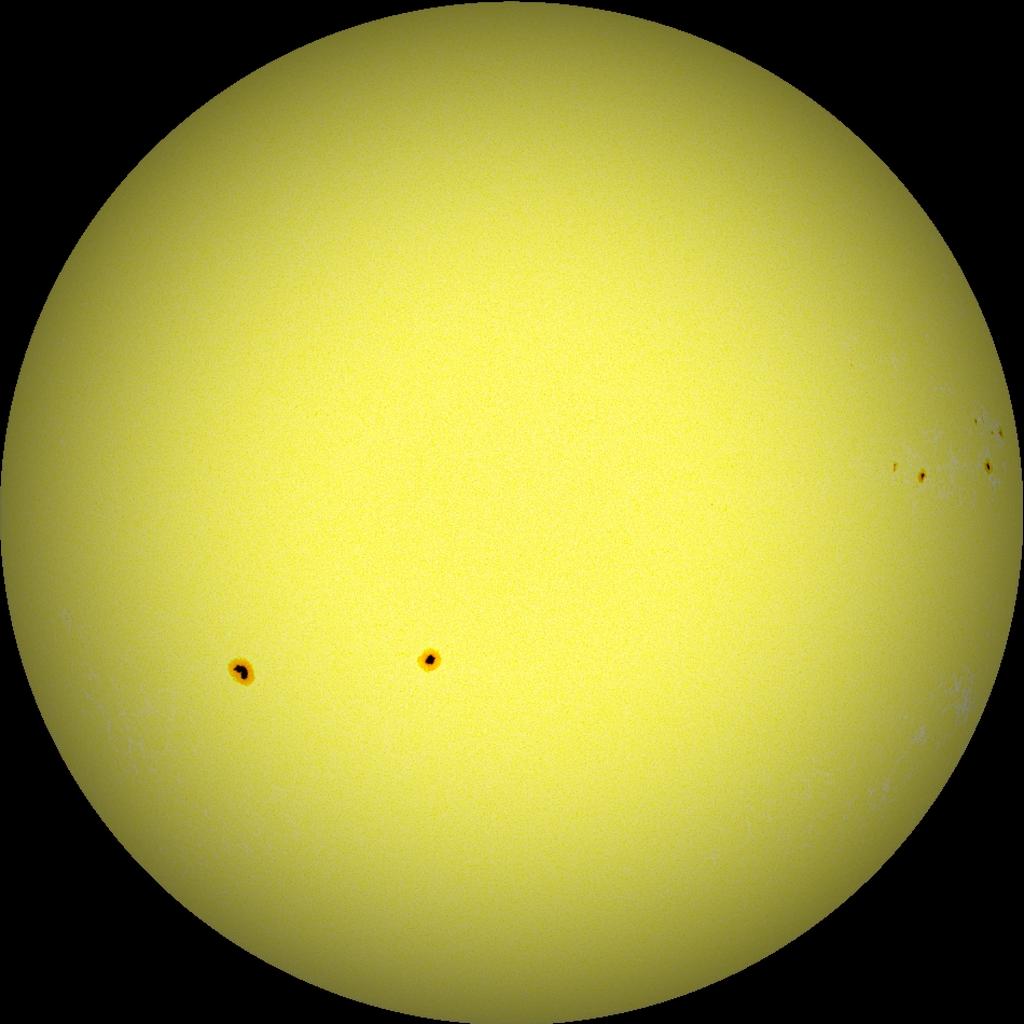 Sun two hours earlier than we saw it 29 Sep 2012 (CalSky.com) |
 Greyscale image 16 Oct 2012 (processed by Jim Lafferty) |
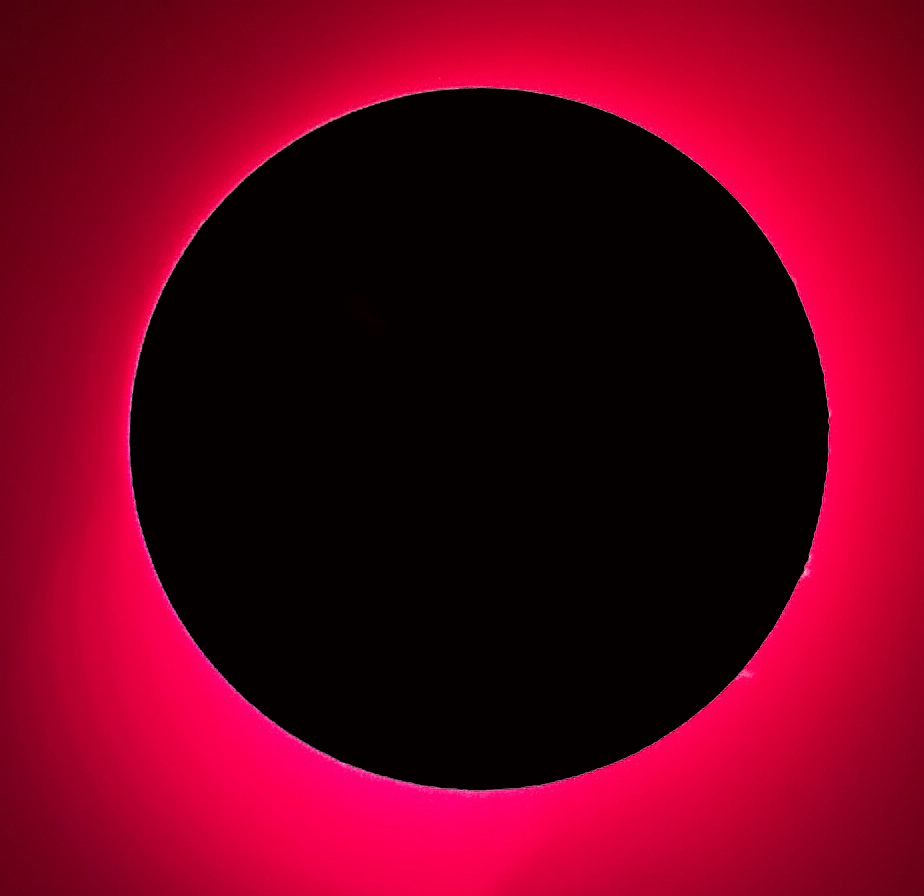
 Colorized image 16 Oct 2012 (processed by Jim Lafferty) |
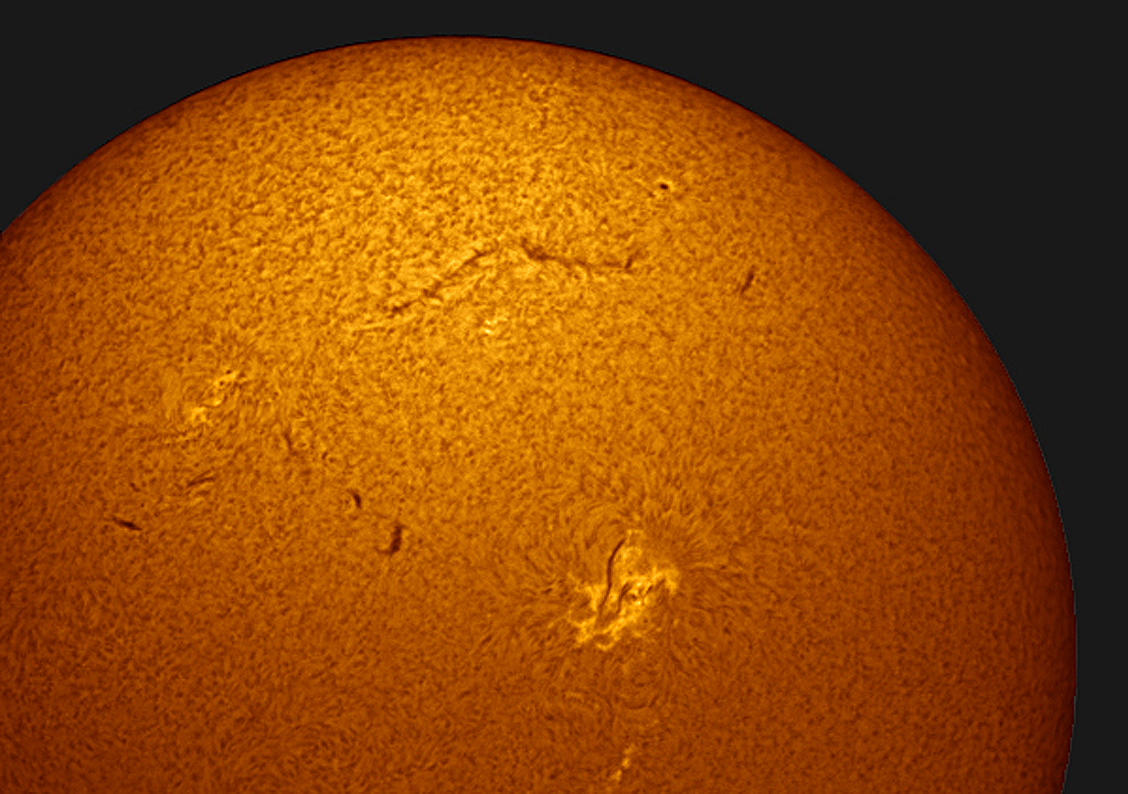 Enlarged Colorized image 16 Oct 2012 (processed by Jim Lafferty) |
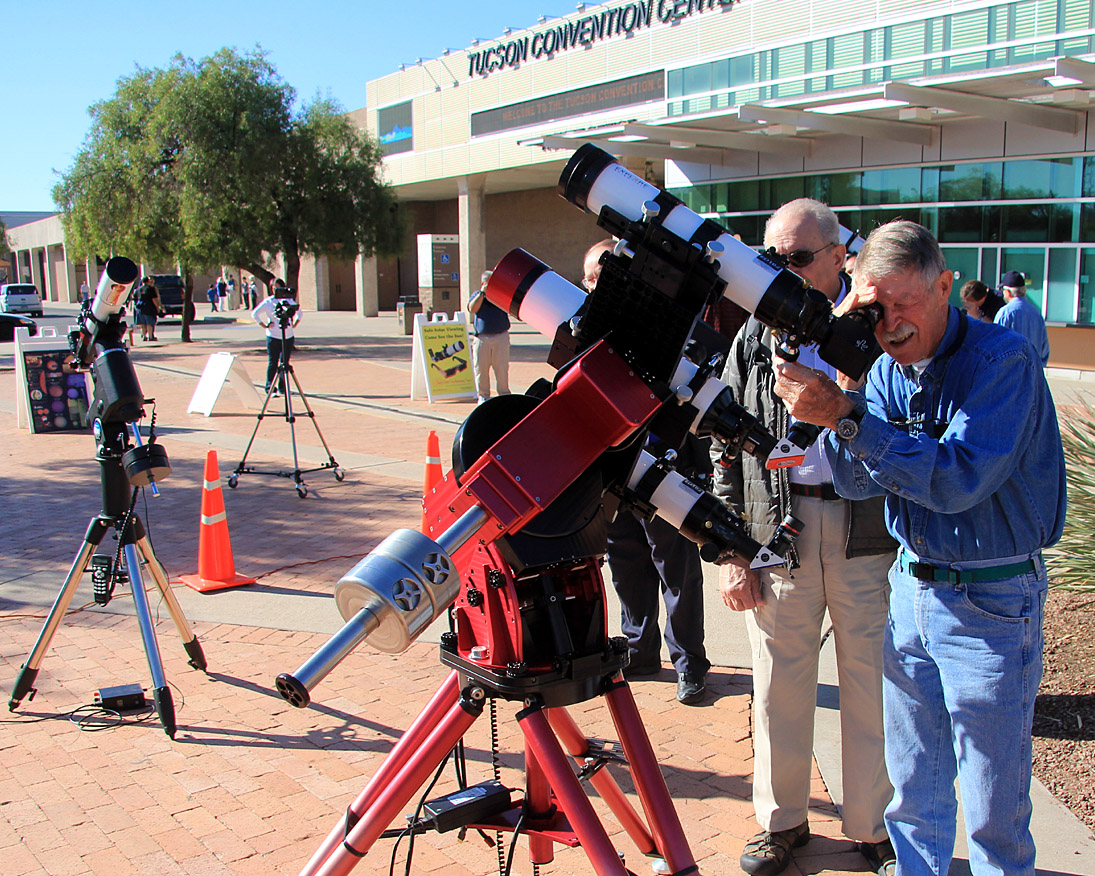
 Dad viewing Hydrogen Alpha through the 9" Lunt. |
 Dad viewing Calcium K sun through the 4" Lunt. |
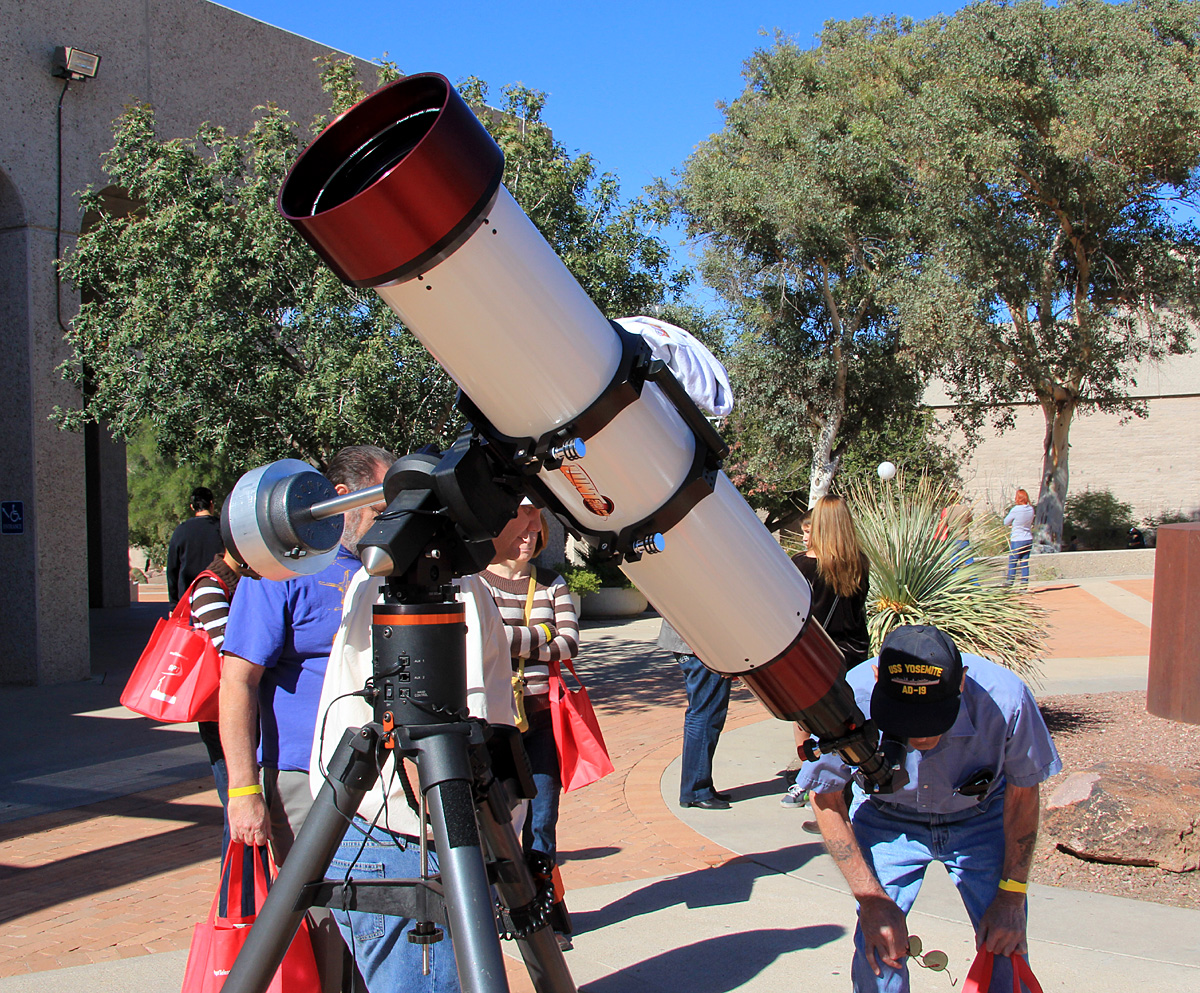
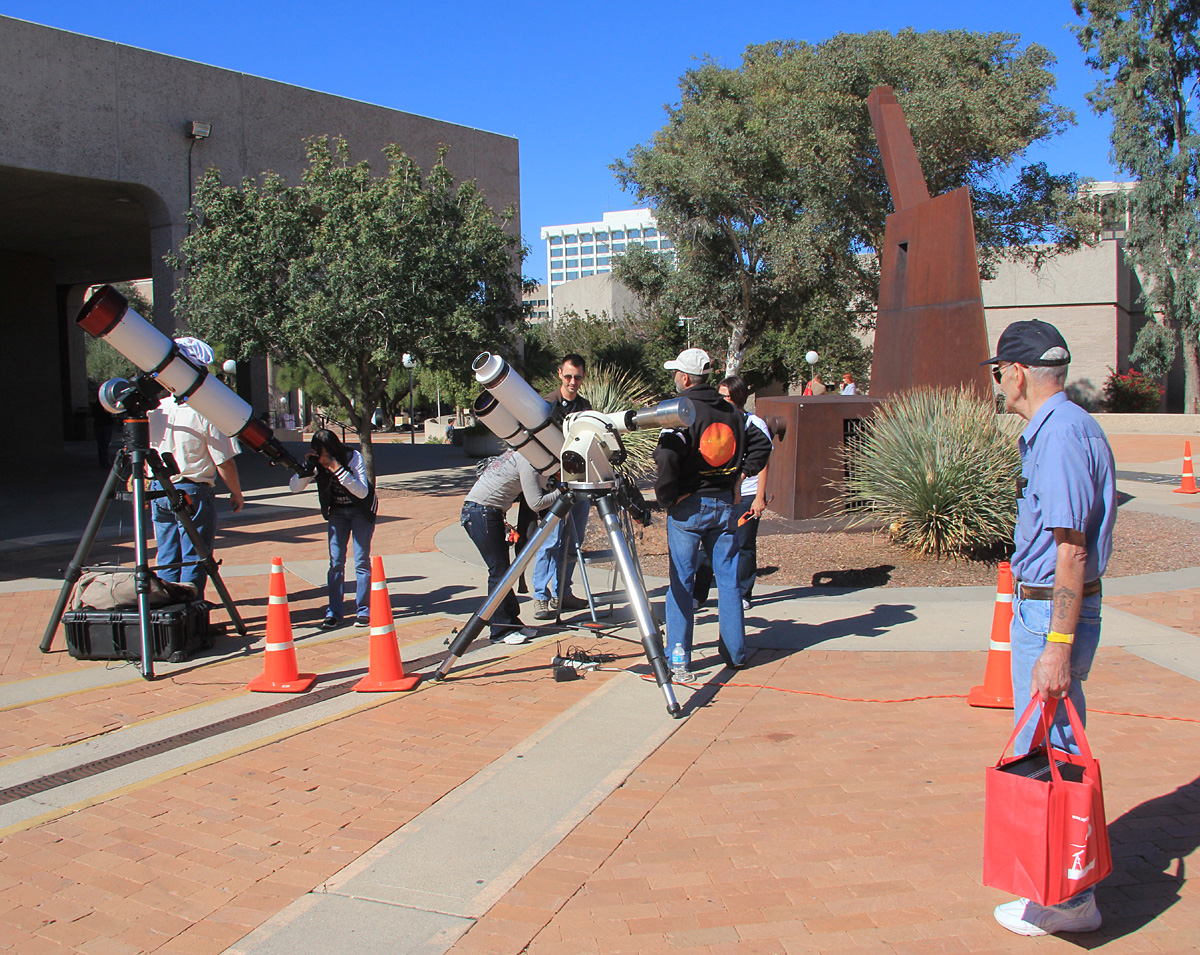 Some of the scopes open for solar viewing. |
 Some of the scopes open for solar viewing. |
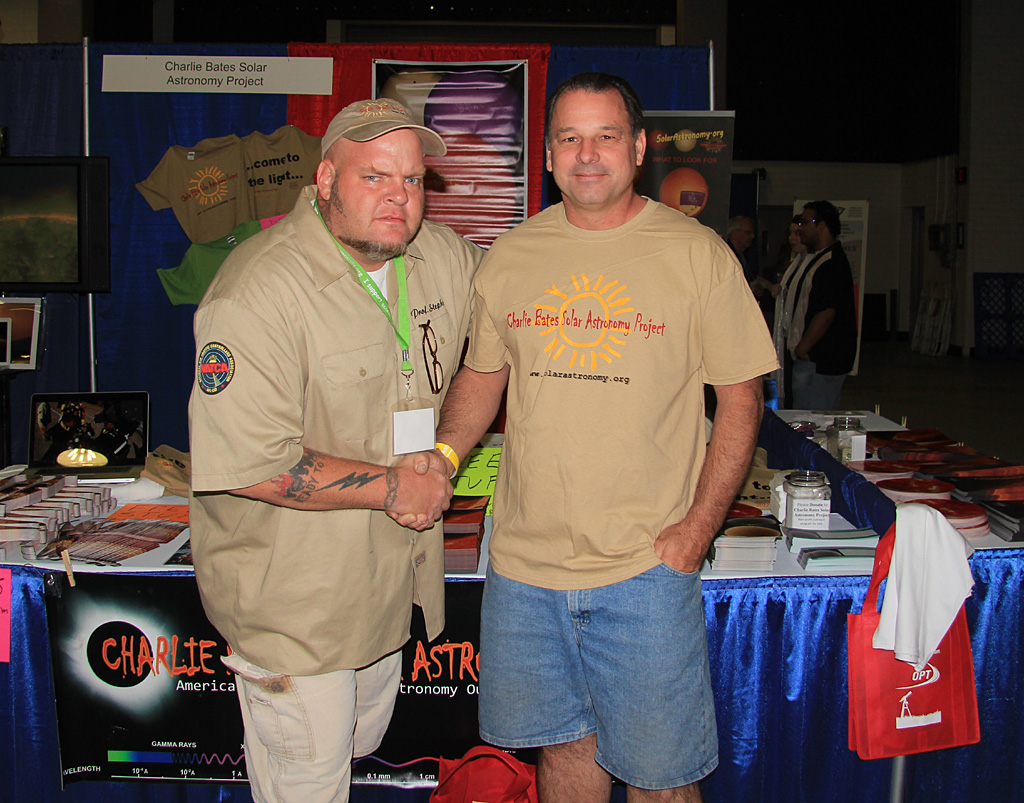 Stephen Ramsden and Moe. |
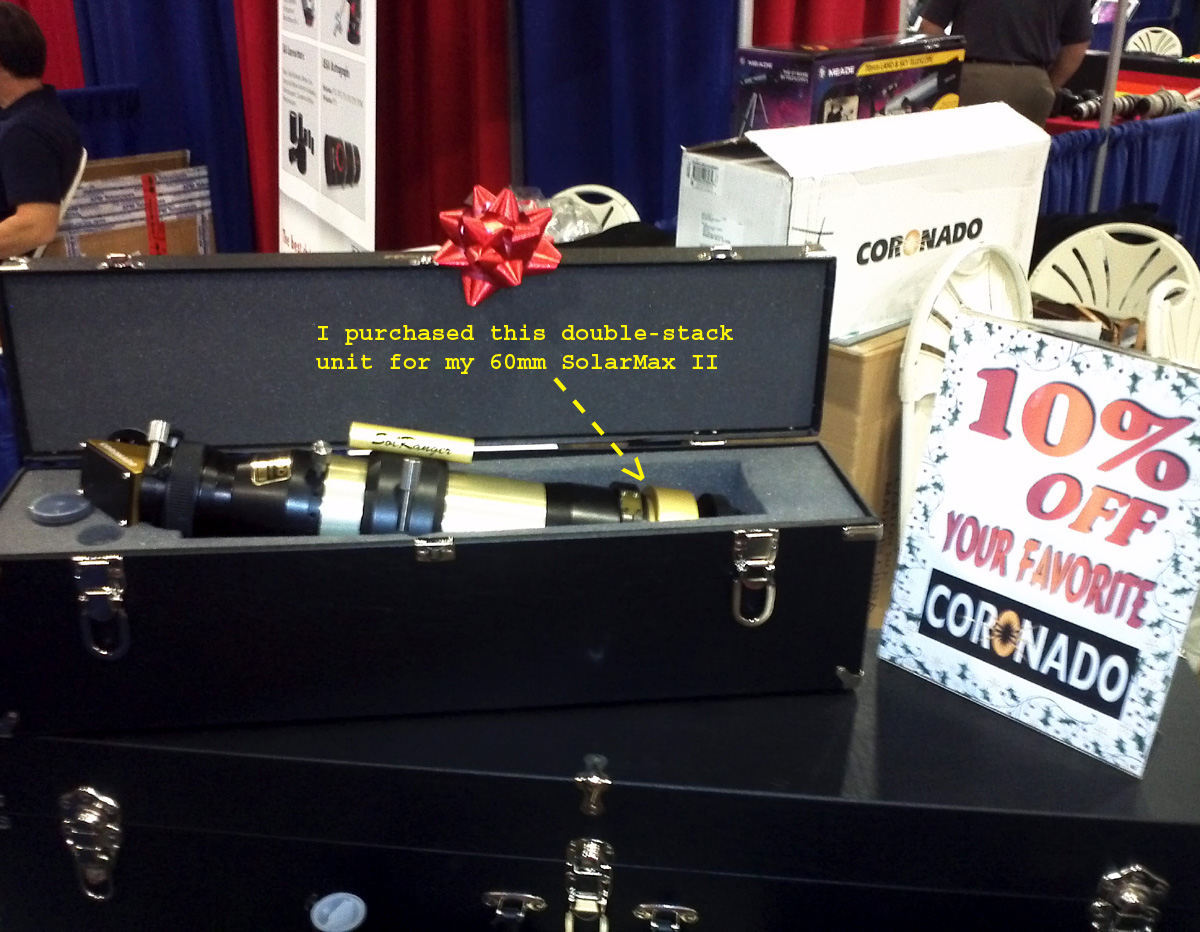 The actual Double Stack unit I purchased was removed from a display 60mm SolarMax II. |
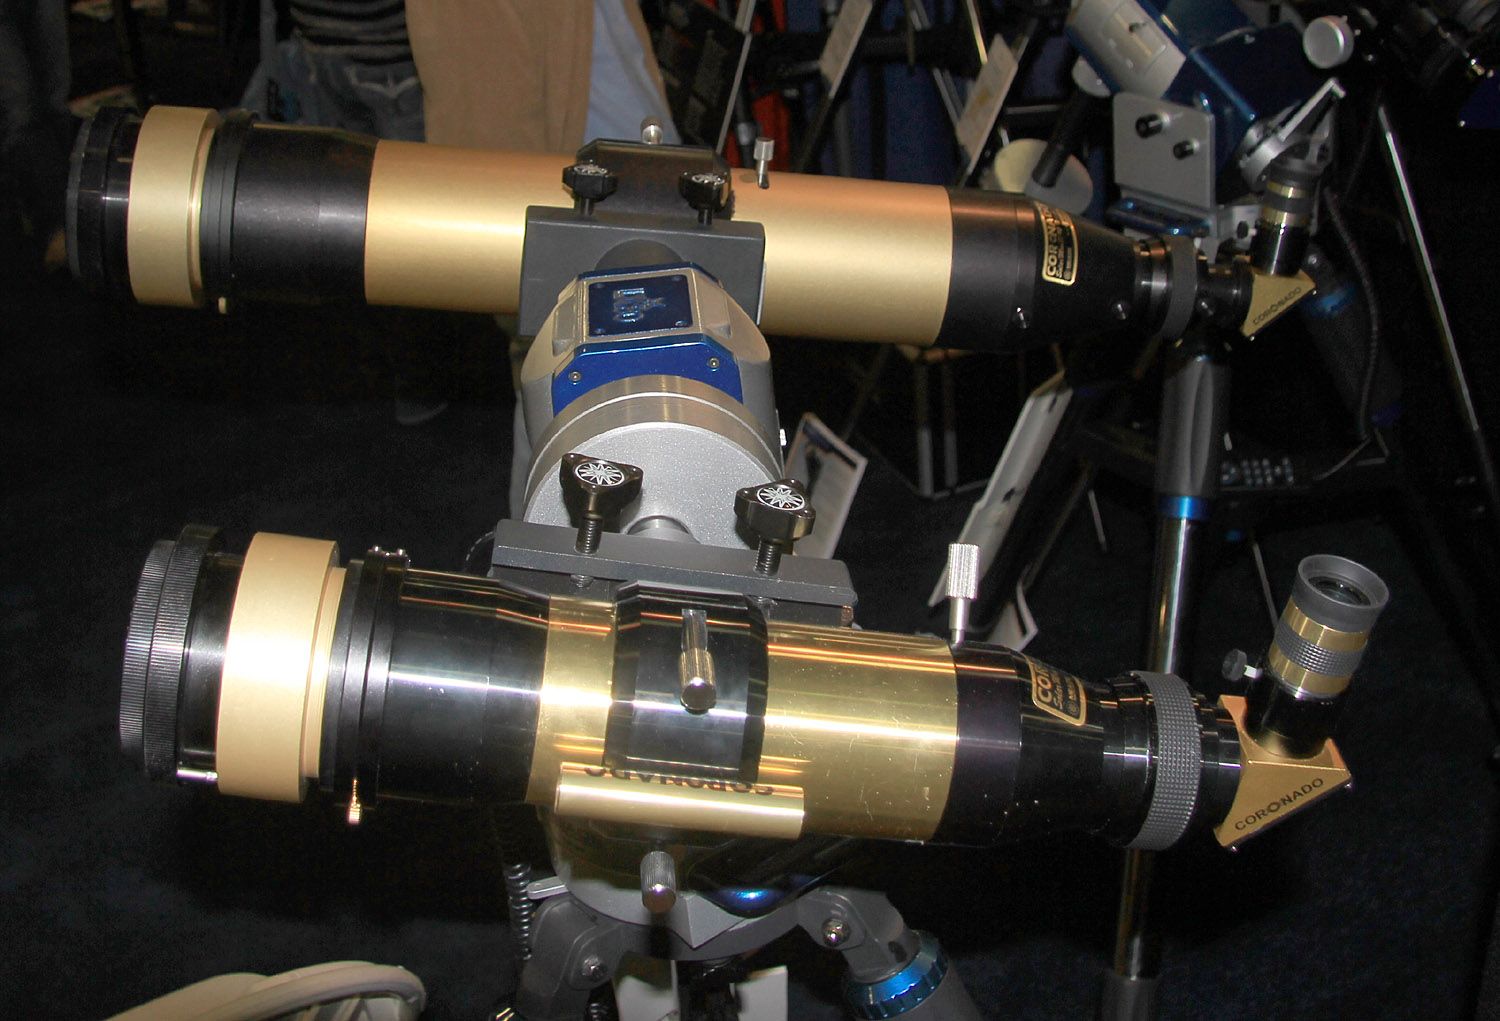 Coronado 60mm and 90mm "double stacked" Hydrogen Alpha scopes. |
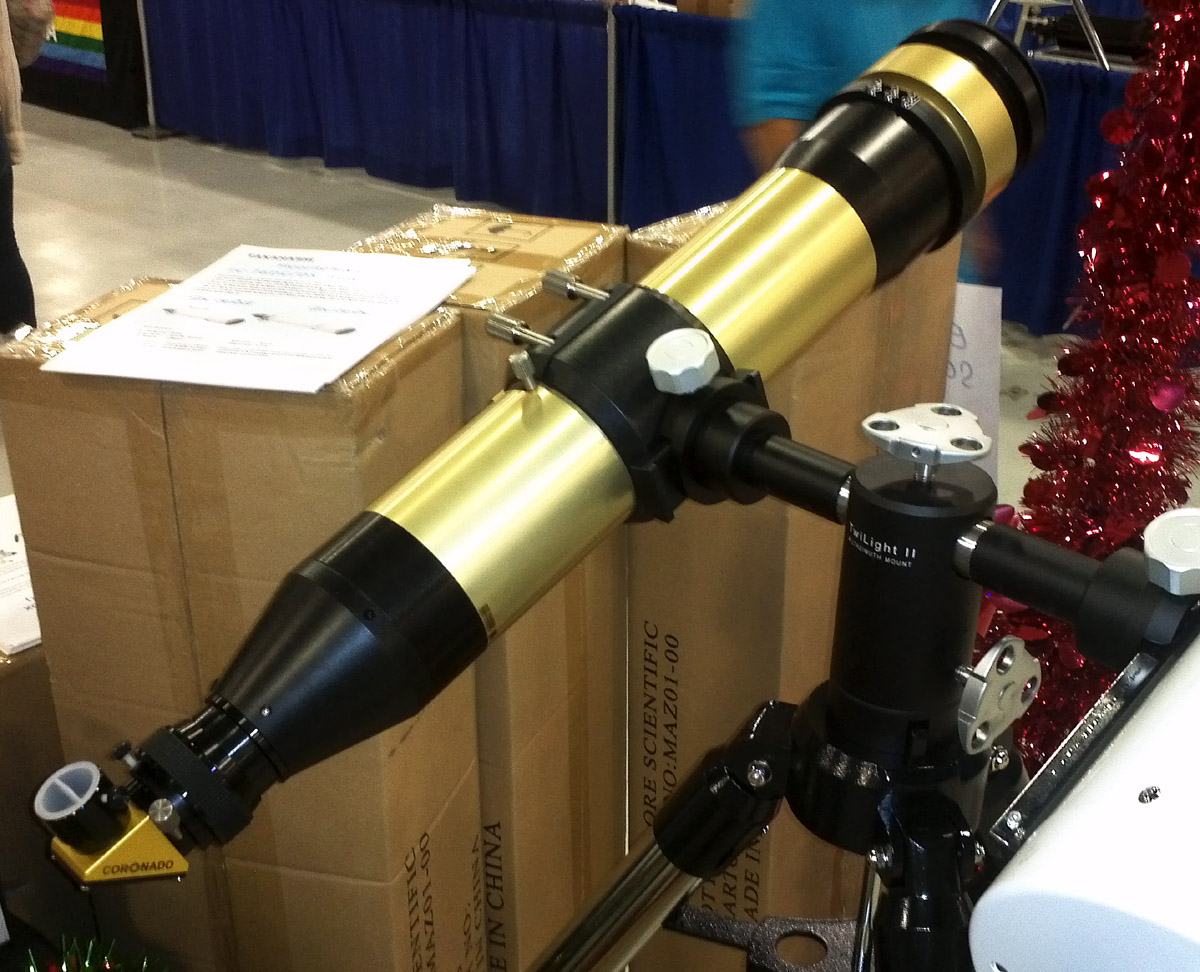
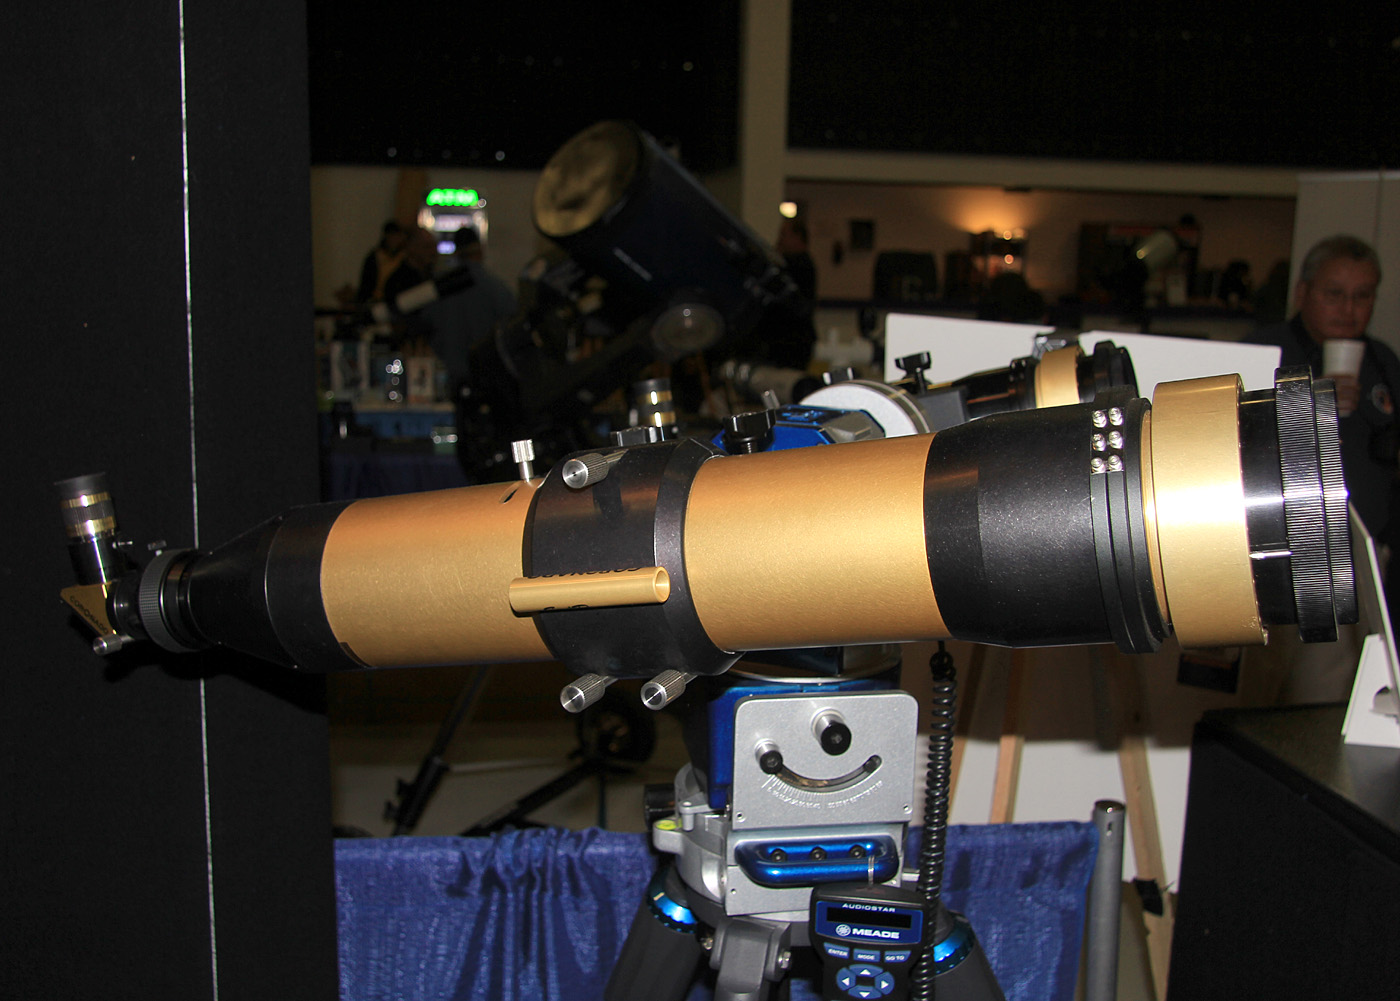 Coronado 90mm "double stacked" Hydrogen Alpha scope. |
 Coronado 90mm "double stacked" Hydrogen Alpha scope. |
 Coronado 60mm and 90mm "double stacked" Hydrogen Alpha scopes. |
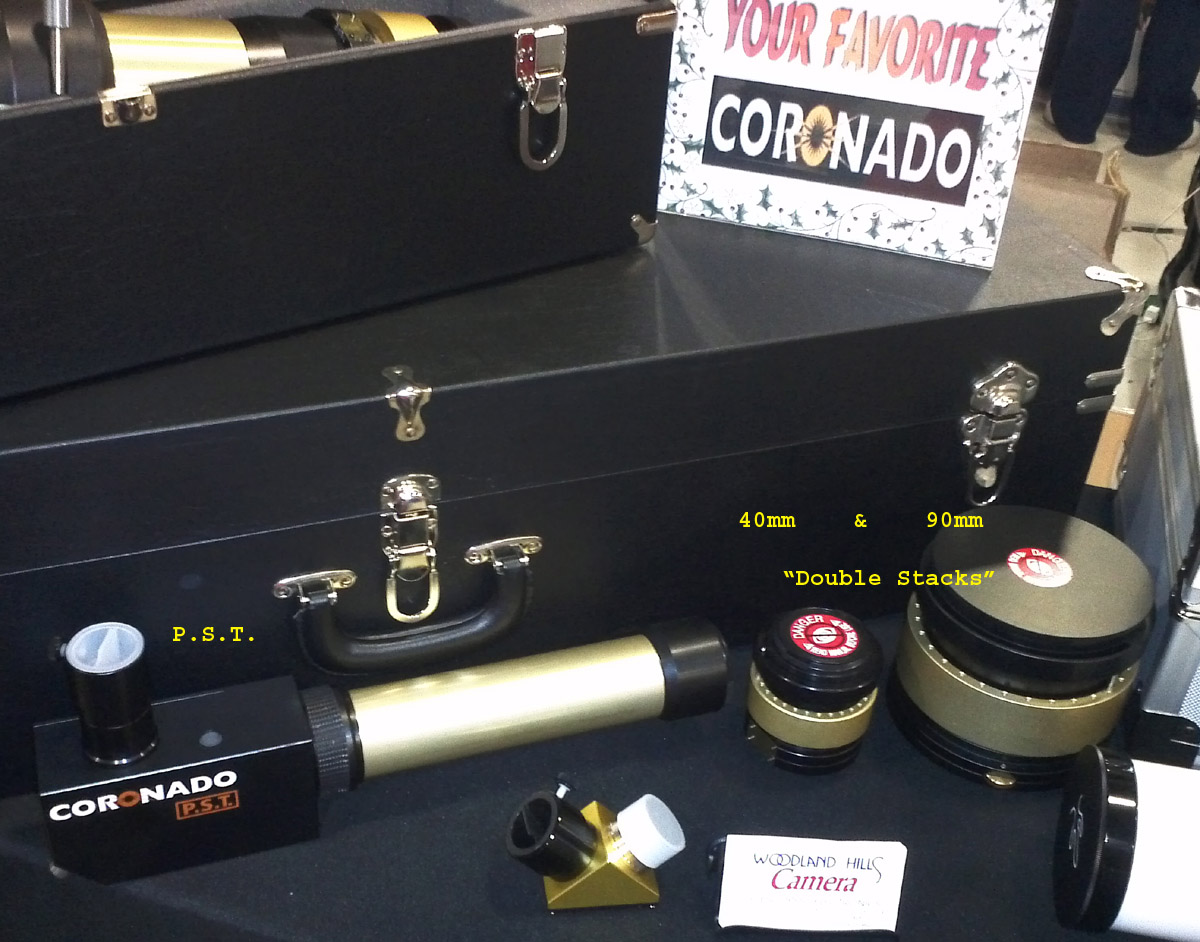 Various Coronado products. |
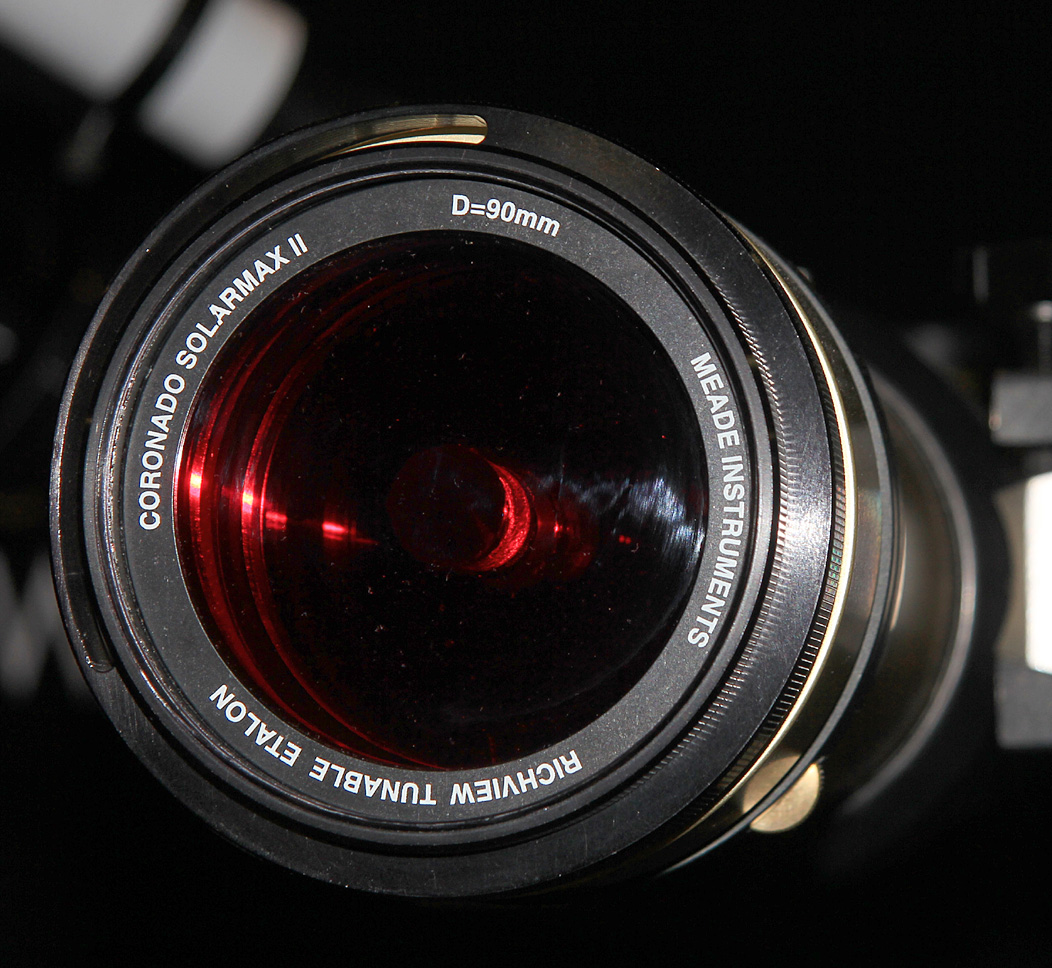
 Another Coronado 90mm on display. |
| Date / Time | Object Name |
Object Type |
Cat #(s) | Apparent Magnitude |
Inst. / Power | Naked Eye? | Binos? | Notes | Notes 2 |
| 29 Aug 12 / 14:10 MST P.S.T. First Light |
Sun | Star | . | . | Coronado P.S.T. / Various (20mm, 9mm, + 2x Barlow | No | No | VERY cool seeing Sol in Hydrogen Alpha light | Several nice proms on SE edge; couple nice filaments |
| 30 Aug 12 / 10:15 MST SolarMax II 60 First Light |
Sun | Star | . | . | Coronado SolarMax II 60 / Various (25mm, 12mm, + 2x Barlow | No | No | Better resolution than P.S.T. though both are keepers! |
Several nice proms; couple nice filaments |
| 02 Sep 12 / 15:00 MST SolarMax II 60 |
Sun | Star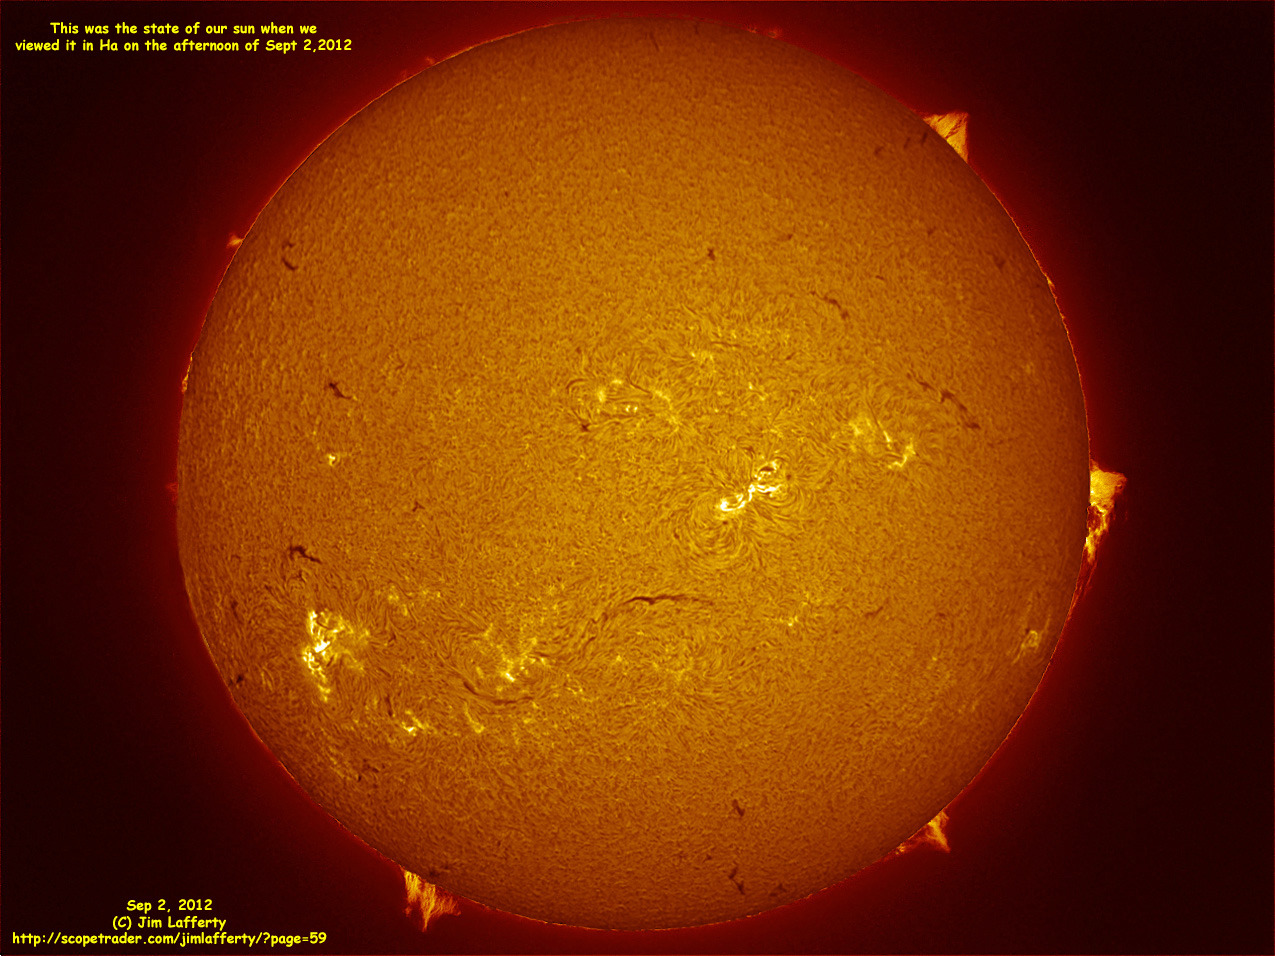 |
. | . | Coronado SolarMax II 60 / Various (25mm, 12mm, + 2x Barlow | No | No | Carissa & Brandon see our sun in Ha for first time. | Several nice proms around edge; couple nice filaments |
| 09 Sep 12 / 11:00 MST SolarMax II 60 |
Sun | Star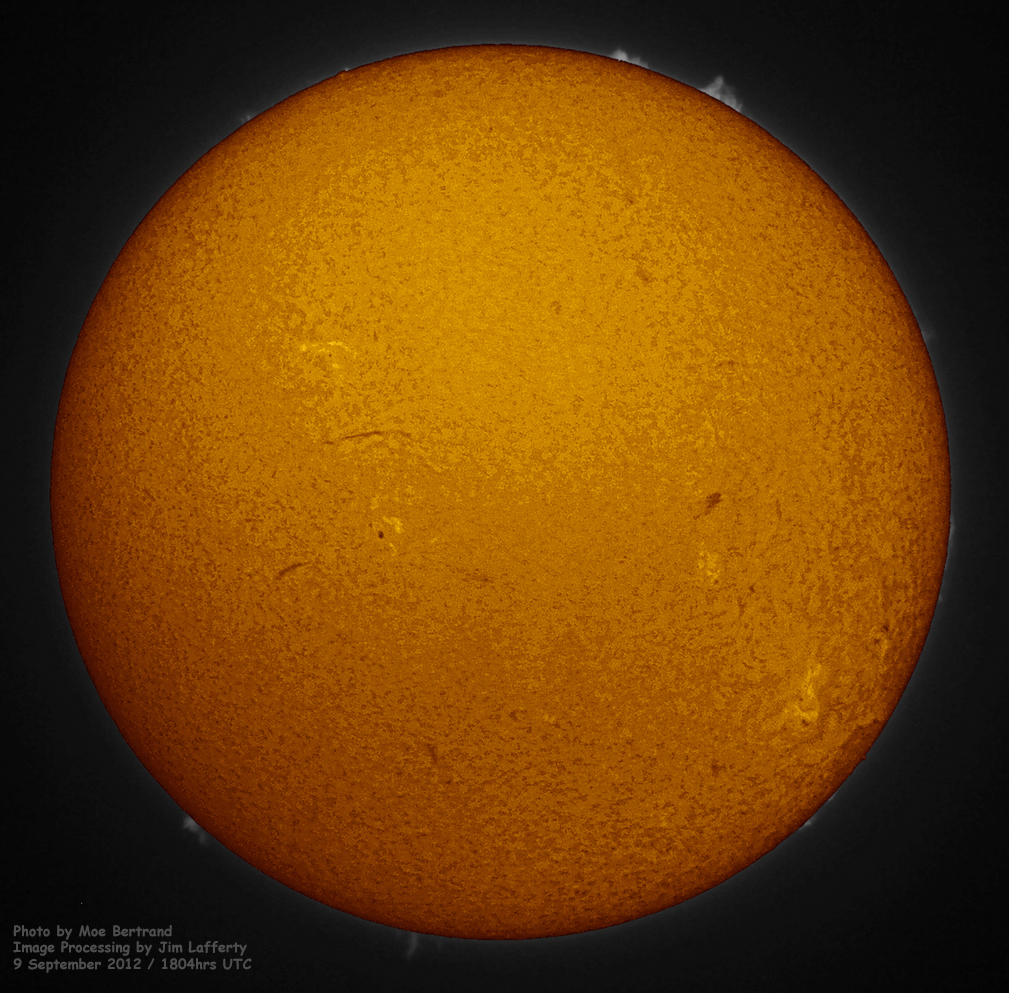 |
. | . | Coronado SolarMax II 60 / Various (25mm, 12mm, + 2x Cemex Barlow | No | No | Tried some imaging with the Cemex Barlow | Several nice proms around edge; couple nice filaments |
| 16 Sep 12 / 14:00 MST SolarMax II 60 DMK21 Mono Camera |
Sun | Star |
. | . | Coronado SolarMax II 60 | No | No | DMK21 Mono camera first light | Results are promising |
| 12 Nov 12 / 12:15 MST SolarMax II 60 Double Stack Unit |
Sun | Star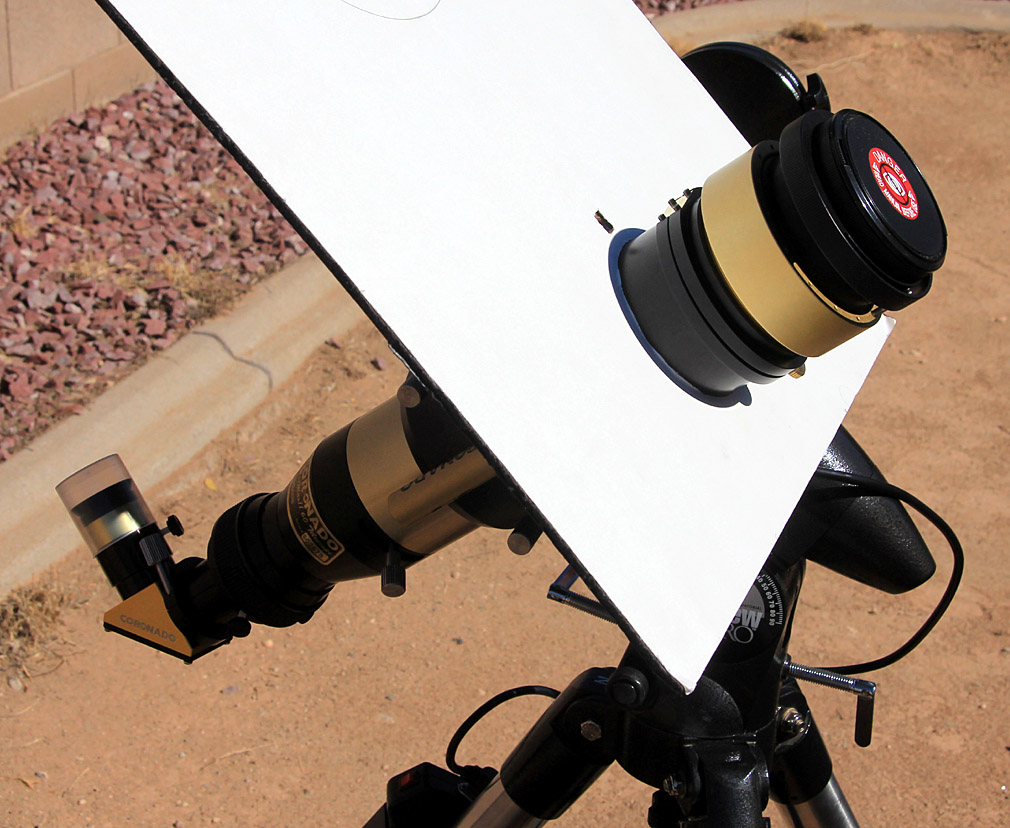 |
. | . | Coronado SolarMax II 60 / 12mm, + 2x Cemex Barlow | No | No | Double Stack unit first light | Significant improvement over stock 60mm view |
| Jim Lafferty Shogun's Sky |
Stephen W. Ramsden Stephen W. Ramsden.com |
Alexandra's Alexandra's Photostream |
Alexandra's Alexandra's Calcium K Photos |
Steve Irvine Kepple Henge |
| Hydrogen Alpha Hydrogen Alpha.com |
Solar Explorer The Solar Explorer |
IC Stars Solar Images |
Jerry Lodriguss Solar Images |
Wes Higgins Lunar Photography |
| The Online Photographer Solar Photos with a PST |
Imaging Deep Sky Solar Full Disk Processing |
All About Astro H-Alpha Imaging Tips |
Sky and Telescope Capture the Sun with your PST |
The Online Photographer Solar Photos with a PST |
H-a Solar Imaging Techniques |
| Solar Terrestrial Dispatch Understanding the Sun |
Astro Nut Solar Primer |
Prairie Astronomy H-Alpha Observing |
| Mike Weasner's Cassiopeia Observatory |
Dave's P.S.T. Blog Dave's P.S.T. |
The Imaging Source H-Alpha from Italy |
RK Blog Lunt 35mm Imaging |
Stargazers Lounge Imaging Tutorial |
Steven Wainwright A Solar Blog |
| BBSO Big Bear Solar Observatory |
Current Solar Diagram Raben Systems.com |
Space Weather Space Weather.com |
| SolarAstronomy.org SolarAstronomy.org |
Alpine Astronomical Solar Observing |
Solar Max II 60mm Review Pt. 1 IceInSpace.com |
Solar Max II 60mm Review Pt. 2 IceInSpace.com |
"Triple Stacking" a Solar Max II 90mm The Solar Explorer |