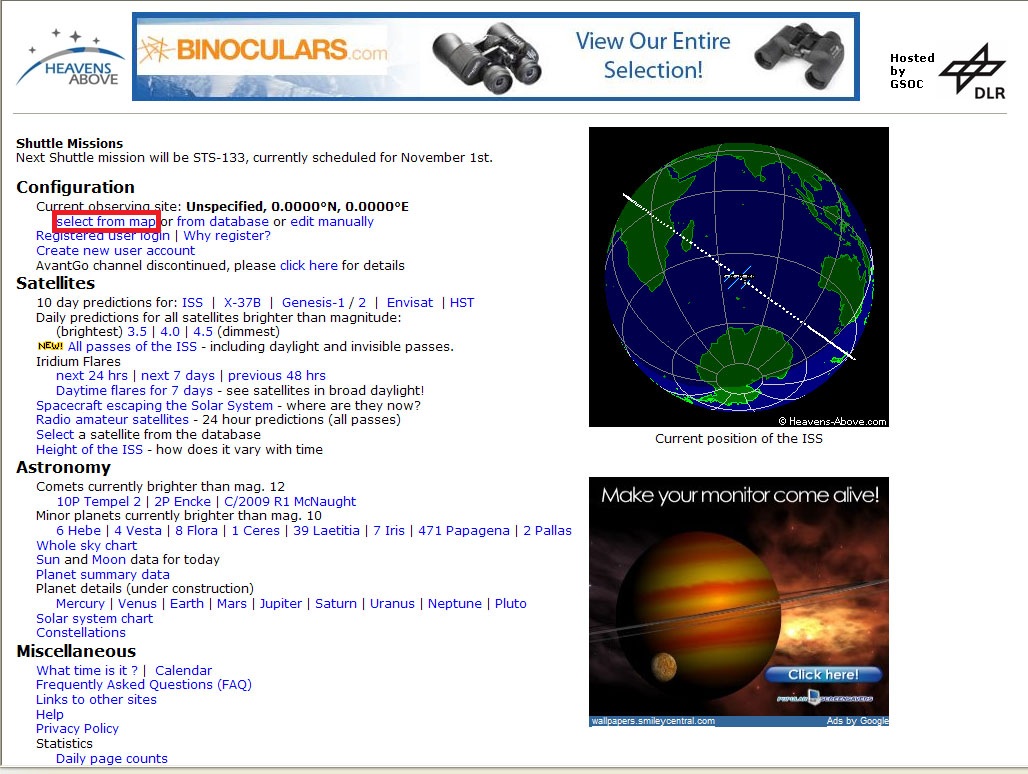
Select "select from map" to proceed.

On this screen, you can point and click to any location the latitude and longitude will appear in the boxes below the map. You can use the map controls on the left side to pinpoint your location. You'll still need to enter your altitude (elevation), a name for your location if desired, and you need to change the time zone to match your current location. The time zone is important so any data returned during searches is in your current local time instead of Universal Time.
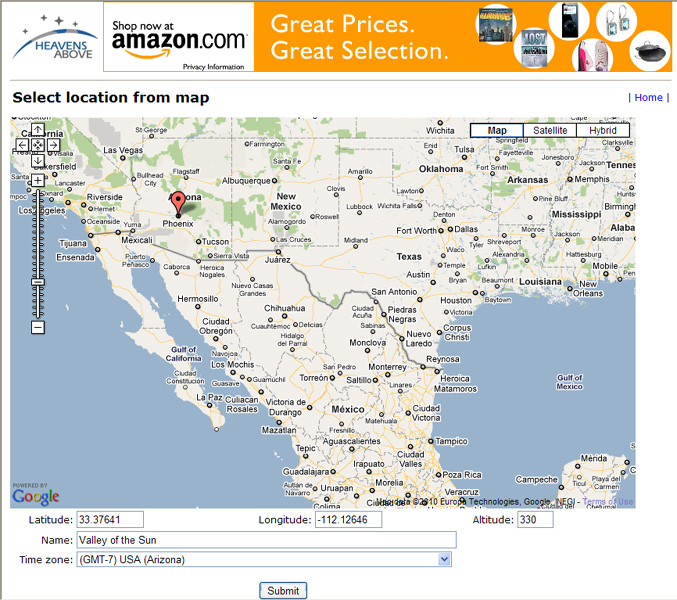
The image above shows that I've moved the pointer to somewhere in Arizona, entered the Name "Valley of the Sun", set the Altitude (elevation) at 330 meters, and changed the Time Zone to Arizona. Once you've entered the data, click "submit" to proceed.
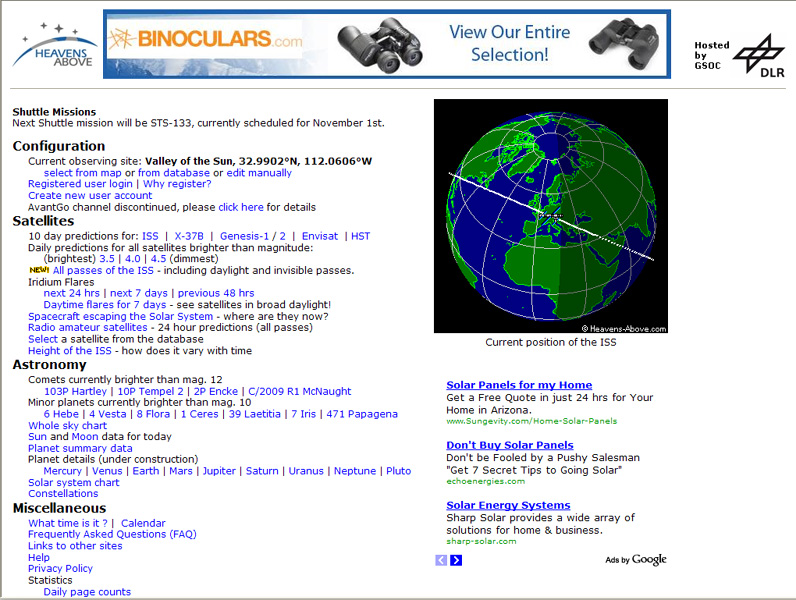
Once you've selected a location, you are returned to the home page and your location name and latitude/longitude coordinates should appear at the top. You are now setup to begin searching for satellites to your heart's content.
Step 3 - Select The Prediction Data
(Note: If you are interested in viewing Iridium Flares, your latitude / longitude and elevation need to be as precise as possible. This is because flare visibility is highly dependent upon location and since they only last a few seconds, correct data is critical. Please click here to see a photo I took of an Iridium Flare on September 12, 2010.